NM2C REPLACEMENT PROCEDURES (continued)
4.22 O.R. DATA MANAGER Sub-Assembly
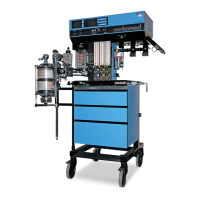
The O.R. DATA MANAGER (ORDM) Sub-Assembly is located behind the right
front ventilator box cover. Replacement of the ORDM requires removal of the
ventilator box back panel and disconnecting the ORDM - processor board cable.
The ORDM can then be withdrawn from the front of the ventilator box for
access to the remaining cables. Figure 4-22 shows the ORDM mounting and
cable connection arrangement.
4.22.1 Turn the System Power switch to STANDBY and remove AC power
from the machine.
4.22.2 Remove any disk from the disk drive.
CAUTION: Use ESD protection when handling the ORDM sub-assembly.
4.22.3 Remove the back panel of the ventilator box and disconnect the
ribbon cable from J5 on the processor board. Leave the other end of
the cable attached to the ORDM assembly.
NOTE: If the machine is equipped with an auxiliary lamp it must be removed
before proceeding to the next step.
4.22.4 Remove the two screws securing the right end of the ORDM front
bezel.
4.22.5 Pull the right side of the bezel outward, slide it to the right until the
locking tab on the left side of the bezel is clear of its receptacle, and
remove the bezel.
4.22.6 Loosen the two captive mounting screws securing the ORDM sub-
assembly to the ventilator box, then pull the ORDM sub-assembly out
far enough to gain access to the remaining connections.
4.22.7 Disconnect the following at the system interface board on the back of
the ORDM sub-assembly:
J2: Power Supply Wire Harness
J9: Network Cable
J5: Keyboard Cable (DIN Connector)
The ORDM sub-assembly can now be removed from the ventilator
box.
Rev. A
4-67
RETURN TO CD-ROM TABLE OF CONTENTS
RETURN TO THIS MANUAL'S TABLE OF CONTENTS

 Loading...