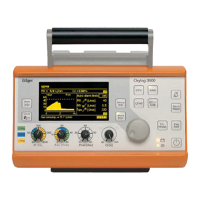
Instructions for use | Oxylog VE300 SW 1.n 53
Getting started
7. On screen 1/3 confirm the advisory message Remove the cuvette from the
CO
2 sensor. with the Next button.
The CO
2 zero calibration starts and the message Zero calibration of CO2
sensor in progress... is displayed. A bar indicates that the calibration is in
progress.
When the CO
2 zero calibration is completed, a message is displayed indicating
the result of the calibration.
8. To exit, touch the Finish button in the bottom right-hand corner of the screen.
9. Reconnect the CO
2 sensor to the CO2 cuvette of the breathing circuit.
If CO
2 zero calibration was not successful:
The screen displays the alarm message CO
2 zero calibration failed.
● Repeat the CO
2 zero calibration.
If CO
2 zero calibration is still not successful:
1. Check whether the CO
2 sensor is soiled, and clean the CO2 sensor if necessary.
If the sensor is faulty, replace the sensor.
2. Repeat the CO
2 zero calibration.
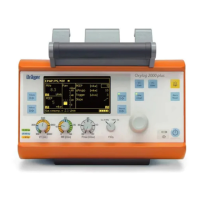
6.4.2 Performing the CO2 filter test (option)
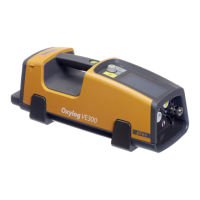
1. To switch the ventilator on, briefly press the start/standby key.
The ventilator performs an automatic self-test, then the standby screen is
displayed.
2. Connect the CO
2 sensor to the device.
3. To move to screen 2 of the dialog, touch the button 1 in the top right-hand corner
of the screen.
4. Touch the button Test & calibration (A).
5. Touch the button CO
2 filter test (B).
2937533176
 Loading...