Driven is a Registered Trademark of DB Research L.L.P.
I
Designed and Engineered in the U.S.A.
WIRELESS CAMERA INSTALLATION INSTRUCTIONS
Thank you for your purchase of the DRIVEN DRWC4.3C wireless camera.
Proper installation of the Camera is critical to the overall view
you will be able to see from your in-cab DRIVEN DRWC4.3M wireless monitor. In
most cases the rear-view camera mount on an RVs is mounted just below the rear
top clearance lights. If your clearance lights are too low, this shouldn’t be a problem,
simply plan to for installation of the camera at the highest point of the rear outer
panel of your RV.
Most modern-day RVs are prewired with a 12v DC power supply cable that hidden
behind a camera mount cover. If this is the case, simply remove the 4 mounting
screws o the pre-mounted base , connect the simple 2 wire red and black cables to
the new harness and replace the complete mount and base with the DRIVEN
DRWC4.3C camera by screwing it down securely with the previously removed
screws.
In the event that your RV or trailer does not come prewired with a 12v DC power
supply at the desired location , you will have to carefully run a power supply cable
to the location on your RV were you wish to mount your camera system. Plan your
wire route for under the RV trailer . Be sure to avoid areas that could be aected by
heat or abrasion. Make sure to properly fuse the power supply cable at its origin.
Once the camera is powered up , follow the pairing instructions provided with the
DRIVEN DRWC4.3M wireless monitor. Align the camera and test the angle of the
view. Make sure to adjust the angle several times to check your options. Once you
have chosen the specic angle for the camera you are good to go.
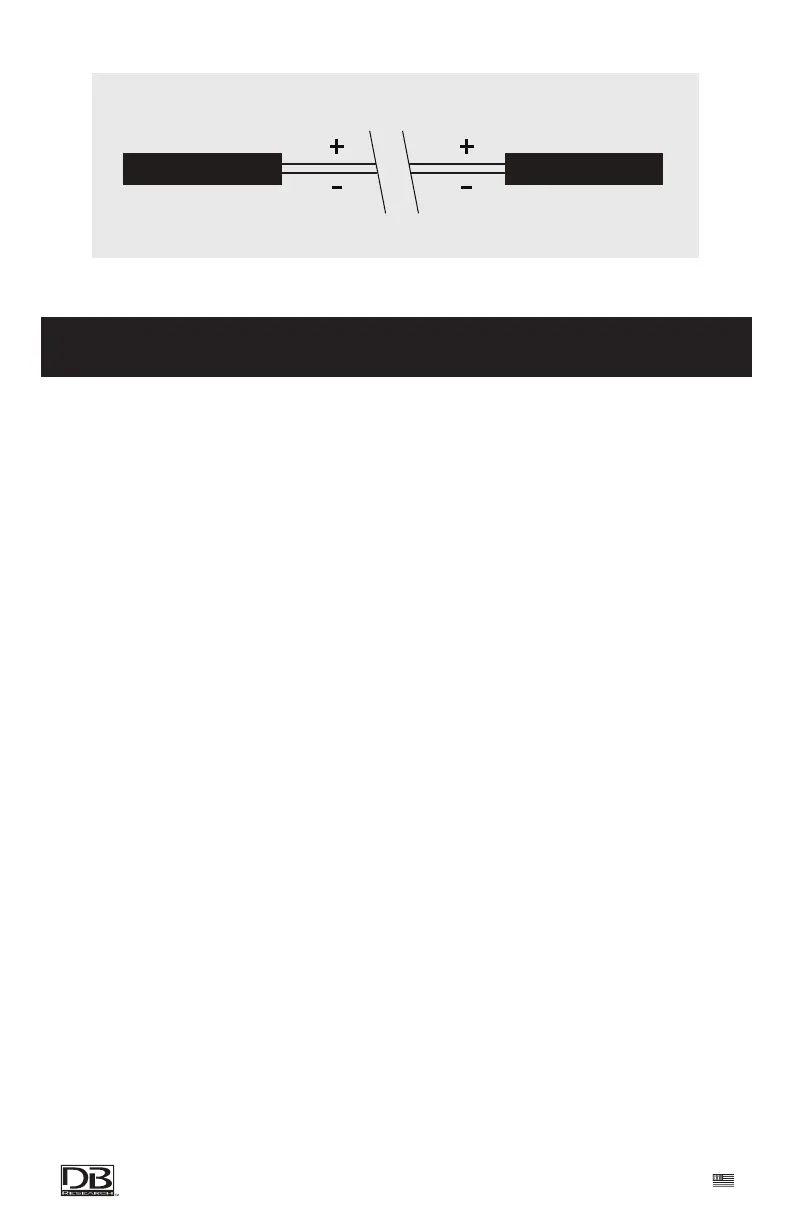
POSITIVE 12V (RED)
NEGATIVE 12V (BLACK)
POSITIVE 12V (RED)
NEGATIVE 12V (BLACK)
CAMERATRAILER
 Loading...