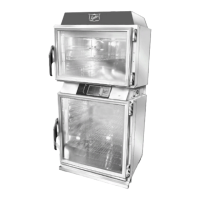
23
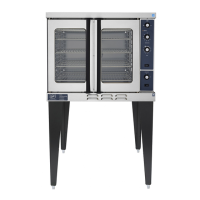
Service Manual for Electric Convection Oven
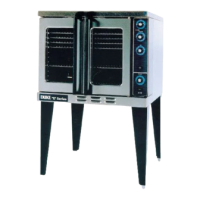
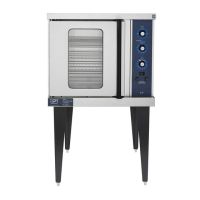
OVEN LIGHTS
Oven lights are located on the right side of the oven. The
light bulbs are replaced from inside the oven. The light
sockets are replaced by removing the right side panel.
WARNING: DISCONNECT OVEN FROM POWER
SOURCE BEFORE PERFORMING
ANY SERVICE.
1. Open Oven Door.
2. Remove shelves and right side rack to access Light
Bulbs.
Rack
Back
Panel
Light
Bulb
Panel
ShelfFan
3. Remove four screws securing light bulb panel over
light bulbs and remove the panel.
4. Remove the faulty light bulb.
5. Reverse procedure to install a new light bulb.
Right Side
Rack
Light
Access
Panel
Light
Bulbs
Screws
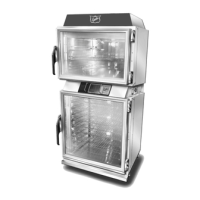
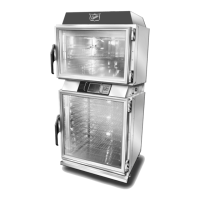
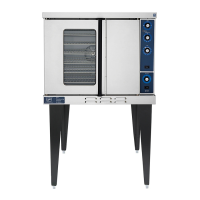
DOORS
The doors on all ovens are constructed similarly, except
the 6/13 oven has a turnbuckle assembly that causes both
the left and the right doors to open together. The left hand
doors are shown disassembled in the two illustrations.
WARNING: DISCONNECT OVEN FROM POWER
SOURCE BEFORE PERFORMING
ANY SERVICE.
Removal
1. Open oven door(s).
2. Remove Top Finish Piece.
3. Loosen setscrew on top and bottom Door Bearings.
4. Slide oven door off the hinges.
5. Reverse procedure to install Oven Door.
Disassembly
The oven door can be disassembled as necessary to
replace the handle, door glass, micro switch, bearing,
roller latch, door catch, and gaskets. On the 6/13 Dual
Door Ovens a turnbuckle assembly can also be replaced.
Gasket Replacement
The Gaskets are not attached to the oven door. These
gaskets are attached to the oven frame. The four gaskets
can be individually replaced.
NOTE: There are four separate Gaskets for the top,
bottom, and two sides. Each Gasket is replaced
independently.
 Loading...