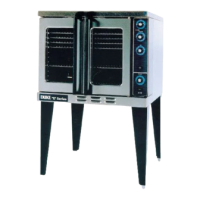
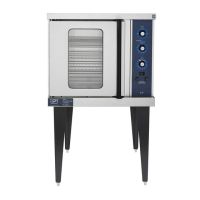
Service Manual for Electric Convection Oven
24
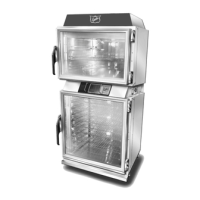
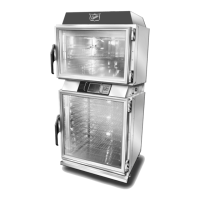
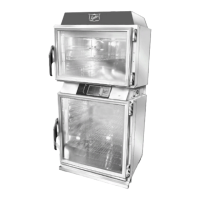
Top Finish Piece
Lower Finish Piece
Door Catch
Door
Top Gasket
Door Bearing
Door
Side Gasket
Latch Roller
Assembly
Left
Hinged Door
w/Glass
Door
Bottom Gasket
Door
Micro
Switch
Door
Actuator
Switch
Oven
Window
Door Handle
1. Open oven door.
2. Remove the screws securing the Gasket that is to
be replaced.
3. Install new Gasket onto oven frame and secure in
place with screws.
4. Close oven door and check that Gasket is properly
sealing the door.
5. To check the gasket seal, place a dollar bill sized
piece of paper against the gasket and close the
door. Friction should be felt when removing the
paper. Check all four sides of the door.
6. With oven in cool down cycle, feel along all four
edges of the door for air leaks.
Roller Latch
1. Open oven door.
2. Remove two screws securing Roller Latch to top
of oven door.
3. Lift Roller Latch out of oven door.
4. Reverse procedure to install Roller Latch.
Door Switch
WARNING: DISCONNECT OVEN FROM POWER
SOURCE BEFORE PERFORMING
ANY SERVICE.
1. Remove Lower Finish Piece to access Door Switch.
2. Label and disconnect wires from the Door Switch.
3. Remove screws securing Door Switch to switch
bracket and remove Door Switch.
4. Reverse procedure to install a new Door Switch.
5. Close oven door.
6. Adjust switch-operating cam as described in the
SERVICE PROCEDURES section.
Door Handle
1. Open oven door.
2. Remove two screws at the top and two screws at
the bottom, securing Door Handle to oven door.
3. Remove Door.
4. Reverse procedure to install Door Handle.
Turnbuckle Assembly (2-door 6/13 Series only)
1. Remove screws securing Top Finishing Piece to
oven and remove Top Finish Piece.
2. Loosen Turnbuckles sufciently to disengage Chain
Drive from Door Sprockets.
Top Finish Piece
Jam Nuts
Turnbuckle
Assembly
Screw
3. Remove Turnbuckle Assembly.
NOTE: When installing a new Turnbuckle Assembly,
be sure to center turnbuckles so that Oven
Door can fully open and close.
4. Wrap new Turnbuckle Assembly around the
Sprockets on the top of each door hinge.
5. Adjust Turnbuckles as described in the SERVICE
PROCEDURES section.
 Loading...