13
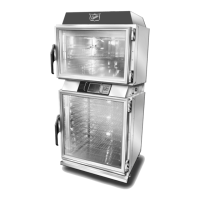
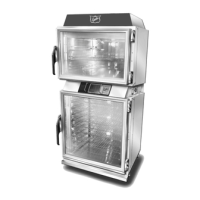
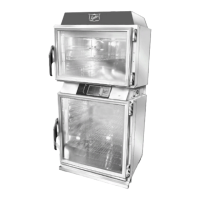
Installation and Operation of: DUKE TSC3 Proofer Oven with Touch Screen Controls
INSTALLATION OF WATER FILTER
1. Install new lter by removing sanitary cap from
top of cartridge, insure two black O rings are
in place, then lift up into lter head and rotate
cartridge 1/4 turn counter clockwise until it
comes to a complete stop.
2. Flush 2 gallons (7.5 Liters), of water through the
new lter before using proofer to purge air from
lter. Remove hose from bottom of proofer
by loosening the compression nut at the
disconnect tting and pull hose out. Place hose
over container and turn on water. It will take a
minute for the lter to ll before water ows out
of hose into container.
3. Once lter is ushed with 2 (7.5 Liters), gallons
of water, turn o water supply again, insert hose
into water line disconnect, tighten compression
nut and turn water supply on again. Check for
leaks at connection ttings.
Figure: Water Filter
(Flushing 2 gallons (7.5 Liters), of water)
Water Line Disconnect Fitting
Factory Installed or Kit
Back ow Preventer
Inlet Water Connection
Inlet Water Connection Point
Water Connection if
Back ow Preventer
is Not Required
INSTALLATION OF WALLBRACKETS
NOTE: Verify interconnections and function prior
to installing optional wall brackets
1. Mount the Wall Mounting Brackets with screws
provided with the Proofer Oven.
2. Extend the Wall Mounting Bracket towards the
wall by sliding it through the slot provided but
do not tighten the screws.
3. Mark the Wall and Drill holes for the wall
anchors.
4. Insert the wall anchors into the holes.
5. Position the Wall Mounting Brackets against the
wall.
6. Insert the screws into the Wall Mounting
Bracket.
7. Ensure that the Brackets are rmly against the
wall and tighten the screws securely.
Wall
Wall
Hole drilled in wall
for fixing bracket
Wall Mounting
Bracket
Figure: Wall Mounting Bracket
INSTALLATION continued
 Loading...