18
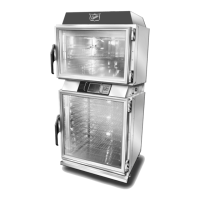
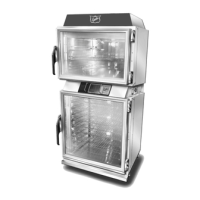
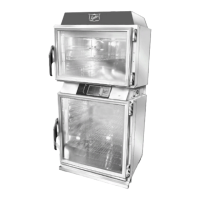
Installation and Operation of: DUKE TSC3 Proofer Oven with Touch Screen Controls
1. Turn the oven ON by touching the
button or the desired RECIPE button. The
oven lights will turn on and the Oven will start
preheating. An audible alarm will sound (3
short chirps) when the oven reaches the ready
state.
OVEN OPERATING INSTRUCTIONS
Figure: Oven Main Screen
Figure: Oven Recipe Preheat Screen
(if under temperature set point):
Figure: Oven Recipe Ready to Start
2. Allow the oven to preheat 20–30 minutes and
keep the oven door closed, except during
loading and unloading.
3. Once an Oven recipe has been selected (i.e.
BREAD
), the display will change to the Oven
Recipe Ready to Start screen (if preheating is
complete).
9. You can add 5 minutes to proong time by touching
the button adjacent to any of the respective
count down timers. This can be done at any time
during the proof or at the end of a proong cycle.
You must add time in 5 minute increments.
10. Adjust the time, if necessary, depending on type of
dough and desired results.
11. Bake bread when dough rises to desired size.
NOTE: Excessive humidity on the door glass is
probably caused by a humidity setting that is too
high or by having the humidity on when there is
no dough loaded in the proofer.
Figure: Oven Count Down Timer
4. Load the oven with dough and touch the start
timer button. The remaining time will be
displayed in the button area and the progress
bar will change to visually show elapsed and
remaining bake time.
NOTE: You can cancel an active timer with press
and hold for 2 to 3 seconds on the count down
timer.
OPERATING INSTRUCTIONS continued
 Loading...