11
2. Installation
2.1 Hard disk and DVD-RW Installation
2.1.1 SATA Port
Main substrate of this DVR has one SATA port: it is indicated as SATA 1.
Only one SATA device (hard disk) is possible to connect in Serial to the SATA port.
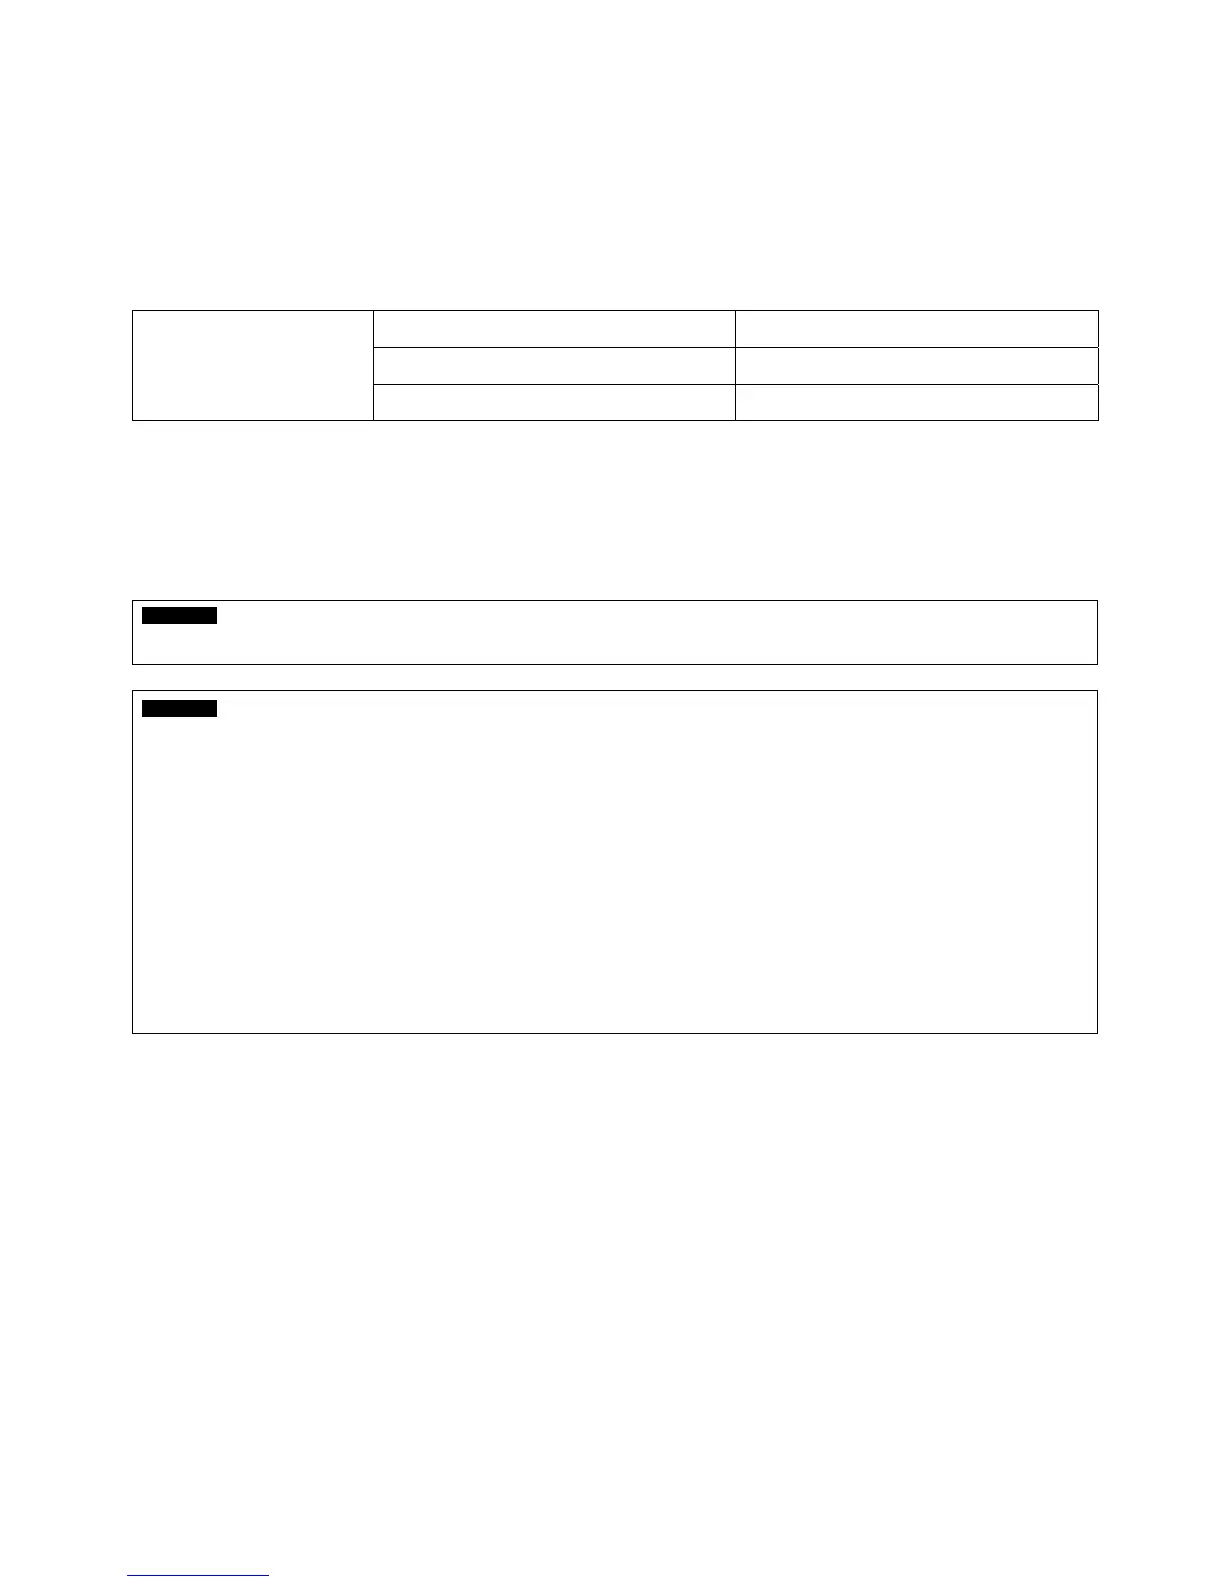
Storage SATA 1, 2 Port
HDD 1
4 / 8 / 16 CH DVR
(A and B Type)
1 HDD
2.1.2 HDD Installation
Securely fix a hard disk by using bracket and screws provided herewith.
Please do not use any different hard disk cables (data cable and power supply cable) other than ones we provide.
Otherwise, it may cause damage to the hard disk.
CAUTION
Install hard disk after DVR power is off. Otherwise, it may cause permanent damage to the hard disk. To turn off DVR, please click ( )
SETUP>SYSTEM>Shutdown. Also, wait for 5 seconds before plugging in power supply again.
CAUTION
For installation/addition/replacement/Removal of HDD (DVD-RW), make sure that DVR is turned off. Otherwise, it may cause permanent
damage to the HDD (DVD-RW).
Installation/Addition/Moving/Replacement: User should start ‘HDD initialization’ including formatting. Otherwise, DVR won’t recognize
the hard disk and may begin to function abnormally. Please follow the below procedure for ‘HDD initialization’.
①
(Date/Time setup) Set up the current date and time (SETUP>SYSTEM>Admin>Date/Time)
②
(Initialization of system setup) All values in setup are restored to factory default settings
-
(SETUP>SYSTEM>Information>Status>Setup>Default)
③
(HDD format) HDD format is done by SETUP>SYSTEM>Admin>Storage>Format. If there are more than two HDDs, each must be
formatted, separately. When the format is completed, DVR will auto-reboot.
Removal: Follow the Remove procedure even when a pre-installed hard disk has been removed. In
-
SETUP>SYSTEM>Admin>Storage>Format, click ( ) ‘Removed’ item under the discrete Format headings of a corresponding HDD to
discard ‘HDD’ item. When the Remove procedure is completed, DVR will auto-reboot.
2.2 Connector Wiring
2.2.1 Video-In/Out Connections
Connect a camera to ‘VIDEO IN’.
2.2.2 Monitor Connections (Video Out, VGA and Spot)
Use with CCTV monitor and computer monitor. Please connect the CCTV monitor to ‘VIDEO OUT’, the computer monitor to
‘VGA’, respectively. If necessary, connect another CCTV monitor to ‘SPOT’.
2.2.3 Audio Connections
Connect an audio device to ‘AUDIO IN’ and a speaker system to ‘AUDIO OUT’. Please use a speaker system with volume
adjustable.
 Loading...