Initial Configuration
1. Prepare the camera:
Remove the camera’s protective packaging and open the dome cover.
2. Attach an Ethernet cable:
a. Connect one end of a Cat 5 Ethernet cable to the Ethernet port on the side of the camera, and the other end (RJ45) to a
Power Sourcing Equipment (PSE) device, such as a PoE switch.
b. Verify that the LED on the port is green, indicating a good network connection. A yellow LED flashes when there is network
activity.
NOTE: The camera IP Address and the subnet mask IP Address are automatically supplied by the DHCP server.
TIP: A camera setup adapter, such as Veracity Pinpoint, can be used to connect a laptop directly to the camera using PoE.
NOTE: If you are using IE 9 as your web browser, work in Compatibility Mode.
3. Set the camera’s IP address:
a. Open the DNA application. Select the unit requiring IP assignment. See figures below.
b. To open the DNA Assign IP screen, do one of the following:
Select the unit, right-click the mouse, and select the Assign IP option
Select the Assign IP button from the toolbar
c. If your network does not have a DHCP server, enter the IP Address, Mask (Netmask) and Gateway values in the dialog box
displayed below.
d. Click Update and wait for OK status to be displayed. The IP value has been assigned.
4. Disconnect the cable:
a. Disconnect the Ethernet cable and replace the dome cover. The camera is ready for mounting in a site installation.
b. Refer to the camera’s user manual for mounting instructions.
Site Installation
WARNING: The Quasar CM series camera must be kept in a clean and dry indoor environment or in the protective outdoor mounting kit
supplied with the outdoor model. Operating temperature should be maintained within -10°C ~ 50°C (14° ~ 122°F). Operating humidity
should be between 10-90% (non-condensing). The camera should be kept dry, free from water condensation, dust, dirt, and smoke.
1. Mount the camera:
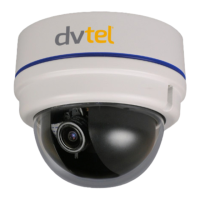
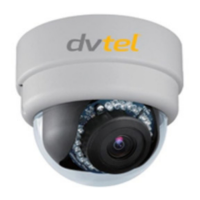
a. Install the Quasar mini-dome camera in the ceiling according to the camera’s user manual.
2. Attach cables:
Thread cables through opening at the side of the camera:
a. Plug the Cat 5 cable into the camera Ethernet port and plug the other end of the cable into an IEEE 802.3at PoE switch. If
operating the heater for outdoor models, also plug a properly rated 24VAC cable into the camera power connector.
b. If applicable, connect the Alarm In, Alarm Out, Audio In and Audio Out terminals to external devices. See the figures and table
below.
Adjust Camera Settings
Note the following locations on the camera: