26
English
Initial operating
of the power tool
Always use the correct supply voltage: the power sup-
ply voltage must match the information quoted on the
power tool identication plate.
Switching the power
tool on / off
Short-term switching on / off
To switch on, press and hold on / off switch 11, to
switch off - release it�
Long-term switching on / off
Switching on:
Push on / off switch 11 and lock it in the position with
lock-on button 10
�
Switching off:
Push and release on / off switch 11
�
Design features
of the power tool
"Impact / drill" switch
Switch 6 is purposed for switching between the follow-
ing operation modes of the power tool:
• drilling, screwing, unscrewing - drilling without
impact in wood, synthetic materials, metal� Screwing
and unscrewing fastening components;
• impact drilling - impact drilling in brick, concrete,
natural stone�
Drilling, screwing, unscrewing:
To switch to this operation mode, move
switch 6
right to the stop�
Impact drilling:
To switch to this operation mode, move
switch 6
left to the stop�
One can switch to another operation mode without
stopping the power tool, simply decrease pressure
applied to it to some extent.
Stepless speed adjustment
Speed is controlled from 0 to maximum by
pressing force of on / off switch 11
� Weak
pressing results in low revolutions, which
enable a smooth power tool switch-on�
Speed selector thumbwheel
Use speed control 9 to set required revolutions and
impact frequency�
• Push on / off switch 11 and lock it in the position with
lock-on button 10
�
• Set the needed speed�
The required speed is dependent on the material and
can be determined with practical trials�
When operating your power tool at a low speed for a
long time, it has to be cooled down for 3 minutes� To
do it, set a maximum speed and leave your power tool
to run idle�
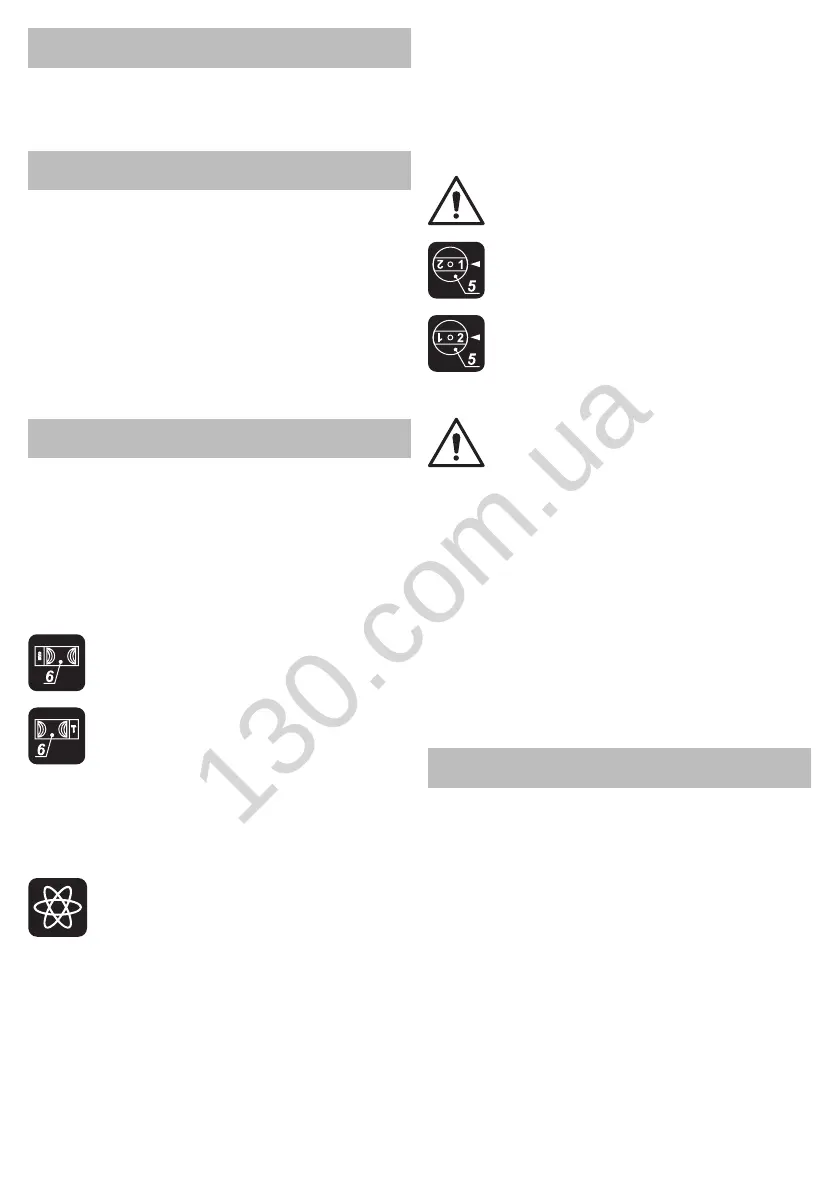
Step speed selector switch
[SBM-810 T, SBM-1050 T]
Attention: one can only change the revo-
lutions per minute range after the engine
fully stops.
The rst speed - you can nd the values of
the revolutions per minute range in the tech-
nical specications table.
The second speed - you can nd the val-
ues of the revolutions per minute range in
the technical specications table.
Changing the rotational directions
Change the direction of rotation only
after a full stop of the motor, acting oth-
erwise may cause damage to the power
tool.
Rotation to the right (drilling, screwing in) - move
the rotational direction switch 8
to the right�
Rotation to the left (unscrewing) - move the rota-
tional direction switch 8
to the left�
Level indicator (see g. 10)
[SBM-500, SBM-600]
The level indicator 12 shows the position of the power
tool case in the horizontal plane (see g. 10). The pow-
er tool case is in the horizontal position if the air bubble
is in the middle of the level indicator 12
�
Recommendations
on the power tool operation
Drilling (see g. 11-15)
• Grease the drill bit regularly when drilling holes in
metals (except drilling non-ferrous metals and their al-
loys)�
• When drilling hard metals, apply more force to the
power tool and lower the rotation speed�
• When drilling large diameter holes in metal, rst drill
a hole with a smaller diameter and ream it till the neces-
sary diameter (see. g. 11).
• In order to avoid splitting of the surface at an exit point
of a drill bit when drilling holes in wood, follow the in-
structions shown in gure 12.
• In order to decrease dust production when drilling holes
in walls and ceilings, take actions indicated in g. 13-14.
• When drilling holes in glazed ceramic tiles, in order
to improve the drill centering accuracy and to save the
glaze from damage, apply adhesive tape to the pre-
sumed hole center and drill after that (see g. 15). Start
drilling at lower speed increasing it as the hole deep-
 Loading...