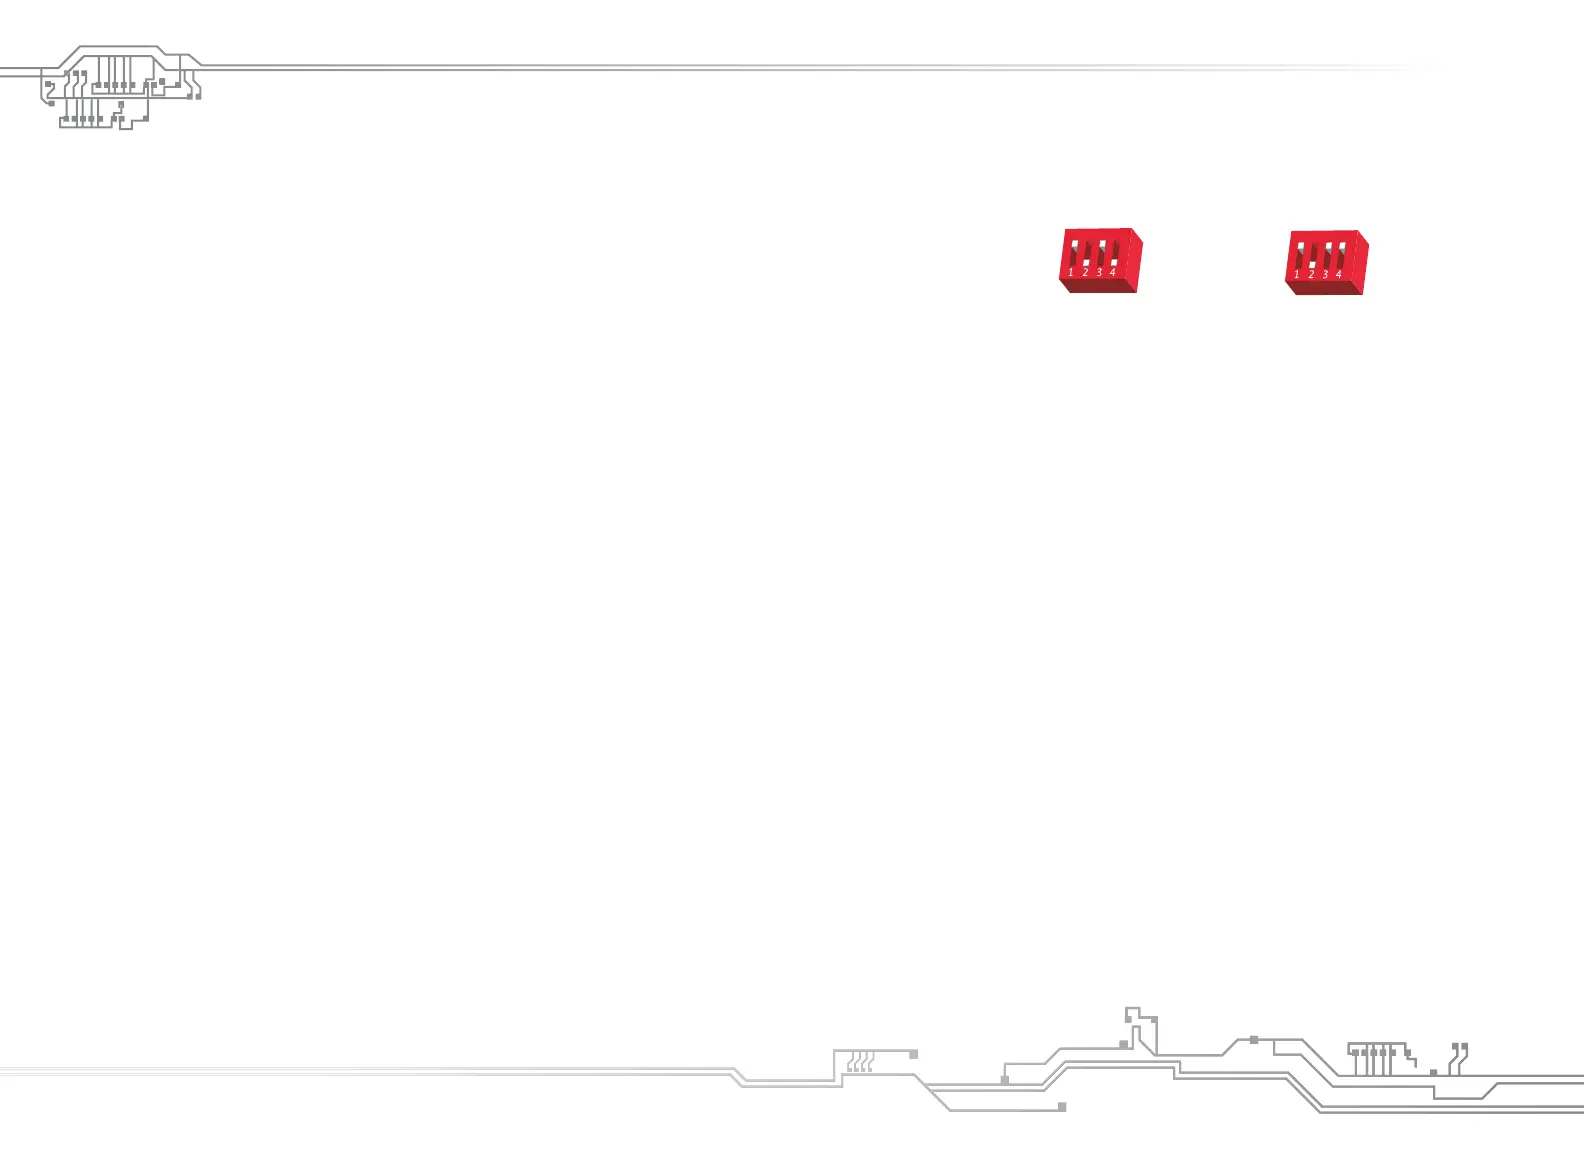
Configuration Mode - The following settings can only be modified in configuration mode. To activate the configuration mode, turn your
marker off and set DIP switch 4 to the on position. Next, turn your marker on. The 3-color LED cycles
through all colors for one second to indicate that you have entered the configuration mode. To cycle
through different settings, pull and release the trigger. Configuration mode has 3 settings that can be changed.
Green - Trigger Sensitivity Values 1 - 20 (factory default 5)
Trigger sensitivity is the amount of time that the trigger has to be released before the next trigger pull is allowed.
In some situations with too low of a value, the marker may begin to shoot full-auto.
Red - Dwell Values 5 - 30
(factory default 18)
Dwell is the amount of time that the solenoid will be activated. Follow these steps for the best way to set your dwell:
• Remove loader and any paintballs from the DM5 marker.
• With the dwell set at 12, start increasing the value until the marker begins to fire.
• When you reach the setting where the marker begins to fire, get some paint and a loader and go to a chronograph.
• Increase the dwell until you see no increase in the velocity. This is the optimal dwell setting to be used.
Blue - Rate Of Fire (ROF) Values 5 - 24
(factory default 24bps)
[When Anti Chop Eye (ACE) is deactivated]
The ROF is unlimited by software when the eye is on. The only limiting factor is the loader feed rate. The marker
pneumatic cycle rate is far faster than any loader on the market. You should set this setting to the constant feed rate
of your loader. Setting this higher than your loader is capable of feeding risks chopping a ball.
TO CHANGE THE VALUE OF A SETTING:
1 While in configuration mode, pull the trigger and hold it for more than one second. The LED will flash to indicate the previous setting.
After that, you can set the new value with the trigger.
For example, if you want to change the trigger sensitivity to 7 units:
2 Cycle through menus by pulling and releasing the trigger until the LED lights GREEN (trigger sensitivity).
3 Pull and hold the trigger until the LED starts to flash (factory default for trigger sensitivity setting is 5 units, so the LED will flash 5 times).
4 When the LED stops flashing, pull and release the trigger seven times in a fast pace. The new value is set after you haven't touched the trigger for one second.
The LED will cycle through all colors to indicate that the new value is saved. All other configurations are changed the same way. Just as in part 2 above, change the mode to
RED for "dwell" or BLUE for "ROF when ACE is deactivated" to change the desired configurations.
5 To exit configuration mode, set DIP 4 to the off position.
NOTE: You cannot turn your marker off with the power button when the marker is in configuration mode. You must first set DIP switch 4 to the off position.
NOTE: When you set the values, remember that only trigger sensitivity starts from 1. The "dwell" and "rate of fire" start from 5.
Therefore, to set the dwell at 20, you need to pull the trigger sixteen times, because the first trigger pull will start at 5.
DM5 BOARD - Settings and Functions (continued)
Normal Mode Configuration Mode
6


 To Next Page
 Loading...