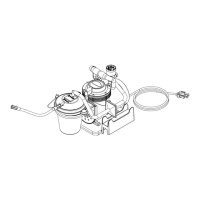
Suction Unit • Vacuum Levels up to 560 mmHg (Reorder No. 32300-32301)
2
1. Connect either end of the 6" silicone tubing to the top of
Suction Canister connector, then connect the other end
to the bacteria lter. Use the other 6" silicone tube to
connect the bacteria lter to the Suction Unit (Figure 6).
2. The patient tubing connects to Suction Canister (Figure 1).
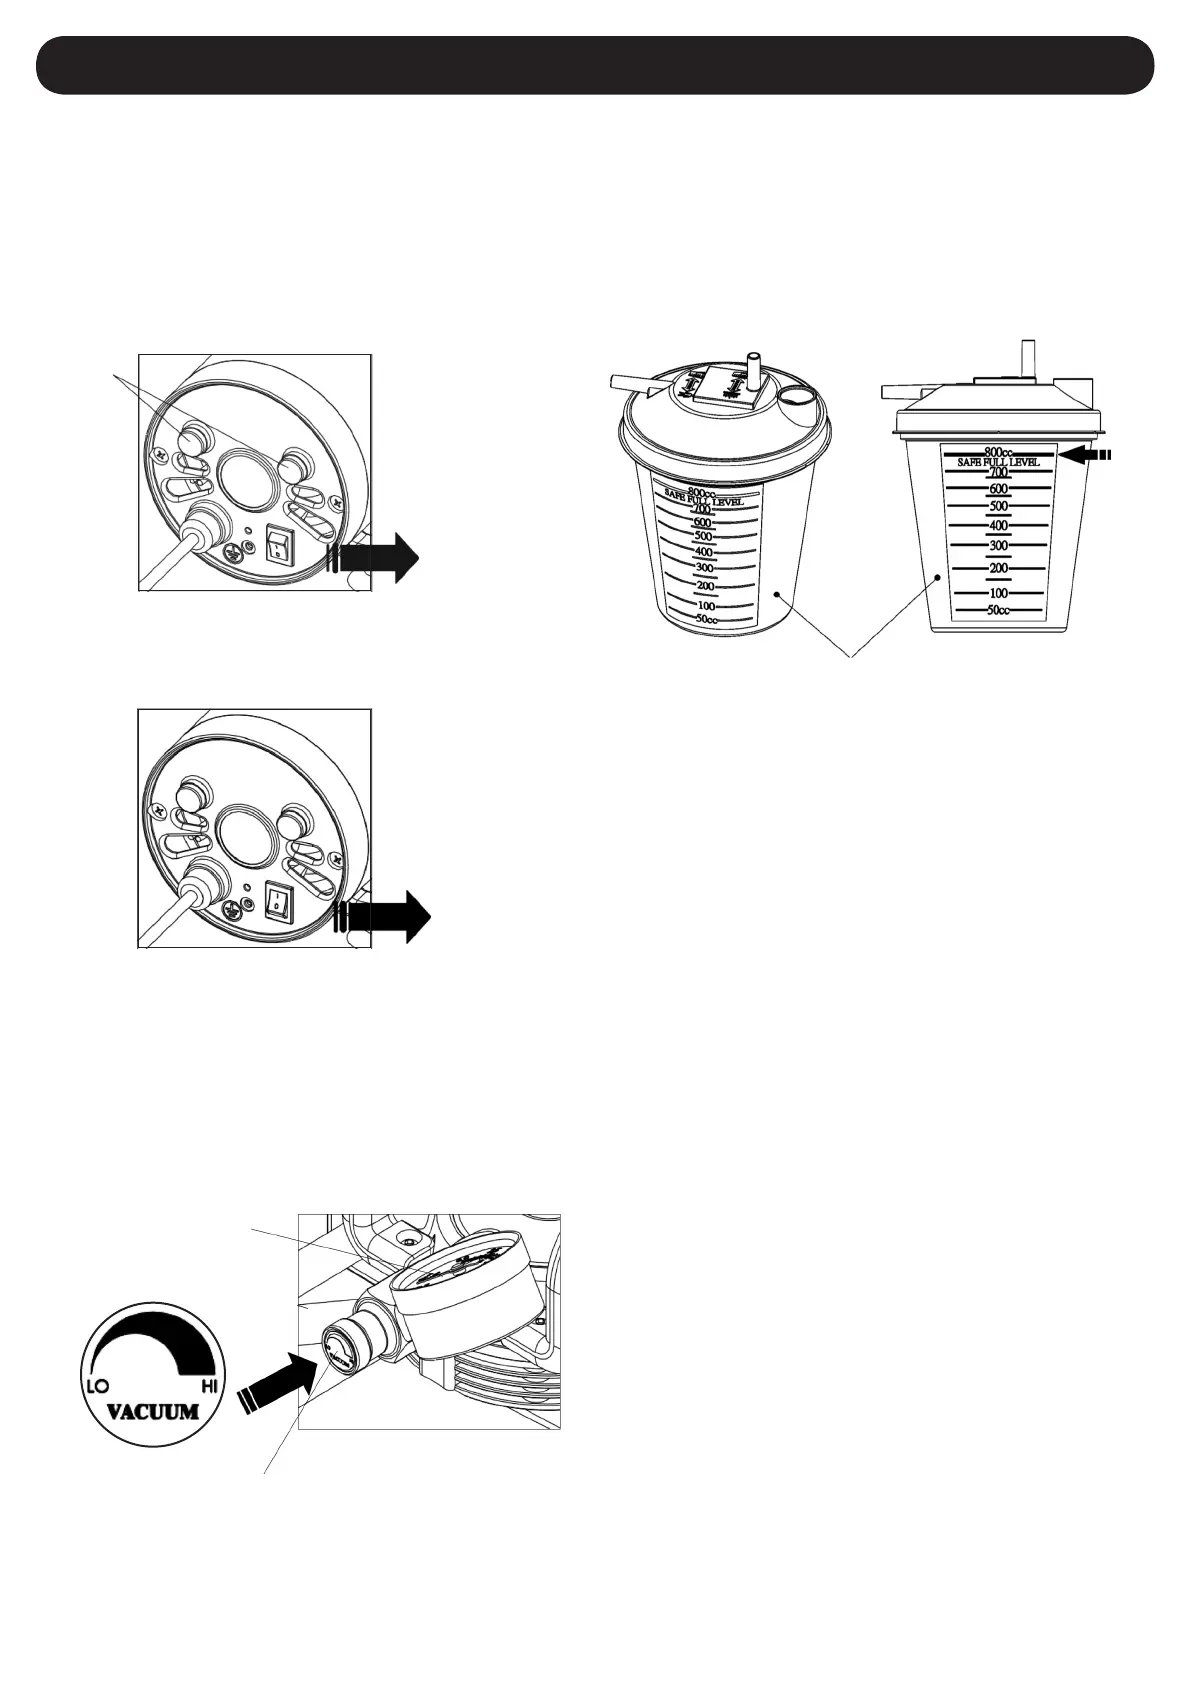
3. Make sure the power switch located on the side of the
unit is in the “Off” position before connecting the unit to a
power source (Figure 2).
5. Adjust the suction level from 0 to 560 mmHg by turning
the vacuum adjustment knob clockwise to increase
and counterclockwise to decrease (Figure 4). It is
recommended to test the pressure before using the
device on a patient. Simply block the end of the patient
hose or block the Suction Canister lid intake and allow
the gauge to reach a stable vacuum reading.
4. Turn the power switch to the “I” position, to start the device
(Figure 3).
6. It is recommended to test the connections for any leaks
prior to being used on a patient.
7. Place the tubing to the appropriate location and start to
gently suction.
8. When the Suction Canister reaches a safe, full level
(800 cc), the suctioning will stop automatically. The
oat shut-off, located under the lid, will activate to avoid
over-lling (Figure 5).
CAUTION:
1. Whentheautomaticoatshut-offisactivated,
contents in the Suction Canisters should be
disposed of. Further suctioning could cause
damagetothevacuumpump.
2. Shoulduidbeaspiratedbackintotheunit,callan
authorizedservicetechniciantoinspectthevacuum
pumpasitmayhavebeendamaged.
9. Turn the power switch to “O” position to turn off the
suction motor.
10. Remove the lid and dispose the waste liquid from
Suction Canister.
Vacuum Gauge
Vacuum Adjust Knob
Suction Canister
Safe
Full
Level
Fuse
Power switch
“Off” position
Power switch
“On” position