13
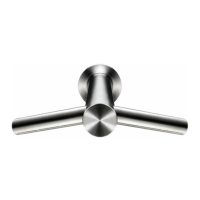
Air hose/Tap assembly removal
Before continuing please follow steps 1-3 and 5-6 of Section 1 of this manual.
All models:
01 Remove the six T-15 screws in the electrical cover.
02 Disconnect the Comms loom from the Comms to PCB loom.
03 Unclip the Air hose assembly from the Backplate.
AB09/10 only:
04 Unscrew the Air hose assembly from the threaded tap stem.
AB11 only:
05 Unscrew the Glamour cap from the Tap stem.
06 Remove the four screws attaching the Tap to the ducting.
07 Carefully pull the Tap and Air hose assembly out of the ducting.
All models:
08 Release the grommet attached to the Comms loom from the base of the Air hose assembly.
AB11 only:
09 Unscrew the Hose assembly from the Tap shell.
All models:
10 Firmly pull the water pipe assembly and Comms loom out of the Air hose assembly.
AB09/10 only:
11 Remove the main nut attaching the Tap assembly to the worktop. Remove the Tap assembly.
Power supply assembly removal
Before continuing please follow steps 1-3 and 5 of Section 1 of this manual.
12 Remove the six T-15 screws in the electrical cover.
Disconnect the Live and Neutral wires from the connector block. Carefully disconnect the Comms
to PCB loom and the Solenoid to PCB loom from the PCB assembly.
13 Remove the T-15 screw from the Connector block and the T-10 screw from the centre of the PCB.
14 Tilt the bottom of the PCB out of the Backplate and slide the PCB down to clear the
communications cable grommet.
15 Slide the Power supply assembly away from the backplate.
Section 2
Air hose/Tap/Power supply assembly removal
Warning: before continuing ensure the power and water supplies to the the machine are switched off.
 Loading...