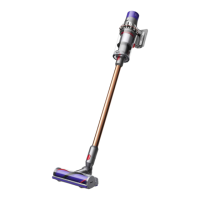
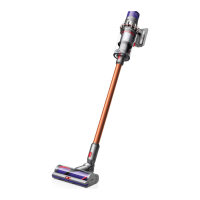
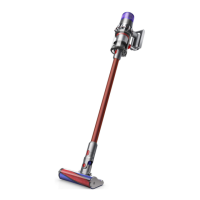
32
SOFT ROLLER CLEANER HEAD INSTRUCTIONS
LOOKING FOR BLOCKAGES
• Ensure the appliance is disconnected from the charger before looking for
blockages. Be careful not to pull the ‘ON’ trigger.
• Do not operate while checking for blockages. Doing so could result in
personal injury.
• Beware of sharp objects when checking for blockages.
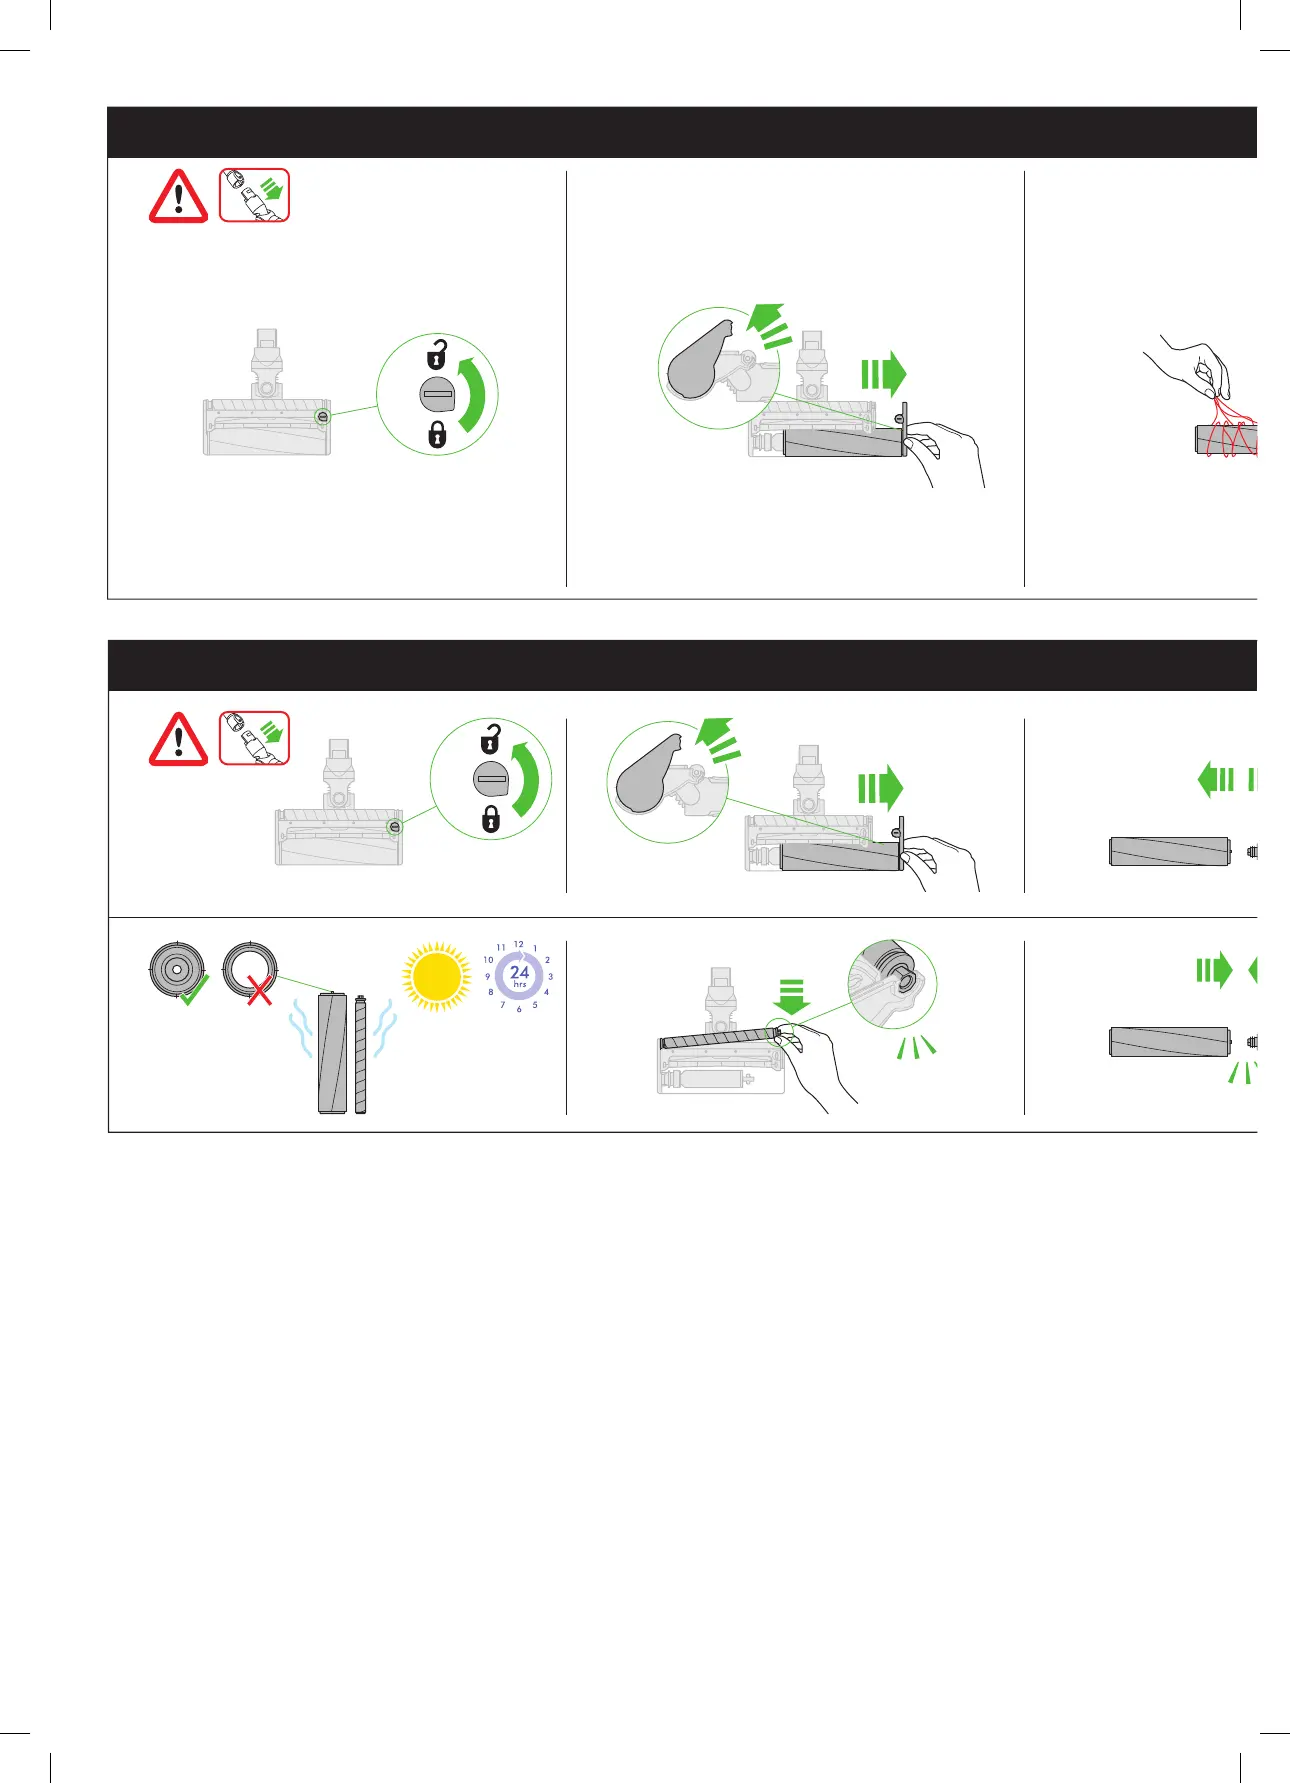
• To gain access to blockages in the floor tool, remove the base plate by using a
coin to loosen the screw marked with a padlock.
• If you cannot clear an obstruction you may need to remove the brush bars,
please refer to the ‘Washing the brush bars’ section for instructions on how to
do this. Remove the obstruction and replace the brush bars as shown in the
‘Washing the brush bars’ section. Ensure that the fastener is fully turned and the
base plate and brush bars are secure before operating the appliance.
• This appliance has carbon fibre brushes. Take care if coming into contact with
them, as they may cause minor skin irritation. Wash your hands after handling
the brushes.
• Refit all parts securely before using.
• Clearing blockages is not covered by your guarantee.
WASHING THE BRUSH BARS
• Your appliance has two washable brush bars, check and wash these regularly
according to the following instructions to maintain performance.
• Ensure the appliance is disconnected from the charger before removing the
brush bar. Be careful not to pull the ‘ON’ trigger.
TO REMOVE, WASH AND REPLACE BRUSH BARS:
• Please refer to the ‘Washing the brush bars’ illustrations alongside the
instructions below.
• Turn the cleaner head upside down so the underside of the cleaner head is
facing you. Use a coin to turn the fastener one quarter anti-clockwise to the
unlocked position.
• Rotate the end cap to the open position. Gently slide the large brush bar away
from the cleaner head.
• Remove the end cap from the large brush bar.
• Lift out the small brush bar from the octagonal end and pull away from the
cleaner head.
• Hold the brush bars under running water and gently rub to remove any lint
or dirt.
• Stand both brush bars upright. Ensure the large brush bar is stood upright as
shown. Leave to dry completely for a minimum of 24 hours.
• Before replacing, check that the brush bars are completely dry. Refit the small
brush bar before the large one. Insert the round end of the small brush bar into
place. Push down the octagonal end until it clicks into place.
• Reattach the end cap to the brush bar.
• Slide the large brush bar back onto the cleaner head, around the motor. The
end cap should be in the open position as shown. Once in place, rotate the end
cap back into the closed position.
• Close the fastener by turning a quarter turn clockwise. Ensure that the fastener is
fully turned and the base plate and the brush bars are secure.
INSTRUCTIONS POUR LA TÊTE DE NETTOYAGE À
ROULEAU DOUX
ASSUREZ-VOUS L’ABSENCE D’OBSTRUCTIONS
• Vérifiez que l’appareil est débranché du chargeur avant de vérifier l’absence
d’obstructions. Veillez à ne pas tirer sur la gâchette «ON».
• Placez l’appareil hors tension pour vérifier l’absence d’obstructions. Si cette
consigne n’est pas respectée, des blessures corporelles peuvent survenir.
1 2 3
2
1
1 2 3
876
2
1
clik
Washing the brush bars. Lavage des brosses. Waschen der Bürstenwalzen. De borstels reinigen. Lavado de los cepillos. Lavaggio delle spazzole.
Промывка валиков электрощетки. Pranje krtače.
Clearing brush bar obstructions. Enlever les obstructions dans la brosse. Reinigung der Bürstwalze. Borstelverstoppingen verwijderen.
Cómo eliminar las obstrucciones del cepillo. Come eliminare le ostruzioni dalla spazzola. Регулярная очистка валиков щетки. Čiščenje zagozdene krtače.