2
INSTALLING YOUR POND - Steps 1, 2 & 3
Oneoftherstthingstobedoneistochoosetheshape
andlocationofthepond.Useanextensioncordor
gardenhosetodeterminepondshape.Onceshapeis
determinedyoucanpainttheoutlineofthepond.This
willallowyoutolayoutthelocationoftheskimmer,
AquaFallsandPVCpipe.Ideallytheskimmerislocated
attheoppositeendofthepondfromtheAquaFallslter.
Thiswillcreatemaximumcirculationthroughthepond.
Thenalstepbeforediggingthepondistoconnectthe
PVCpipetotheAquaFallslter.Bylayingthepipeon
thegroundaroundthepond,youcanusethedirtfrom
thepondtocoverthepipethuscreatingabermtokeep
runooutofthepondandeliminatingtheneedofdig-
gingatrench.
POND BUILDING STEPS
1. Markoutlineofpond
2. Chooselocationofskimmer,lterandPVCpipe
3. ConnectPVCpipetoAquaFallslter
4. Digpond
5. Installunderlaymentandliner
6. Placerocksinpond
7. Rinserocks(optional)andthenbeginllingpond
8. Installskimmer
9. Buildwaterfall/stream
10. Installpump
11. Fill,tweakandtrim
12. Landscapeandcleanup
EXCAVATING POND - Step 4
Flexible PVC Pipe
Bottom 24"-30"
Shelf 2 16"-20"
Shelf 1 6"-12" Deep
Filter
Skimmer
Lily
Pockets
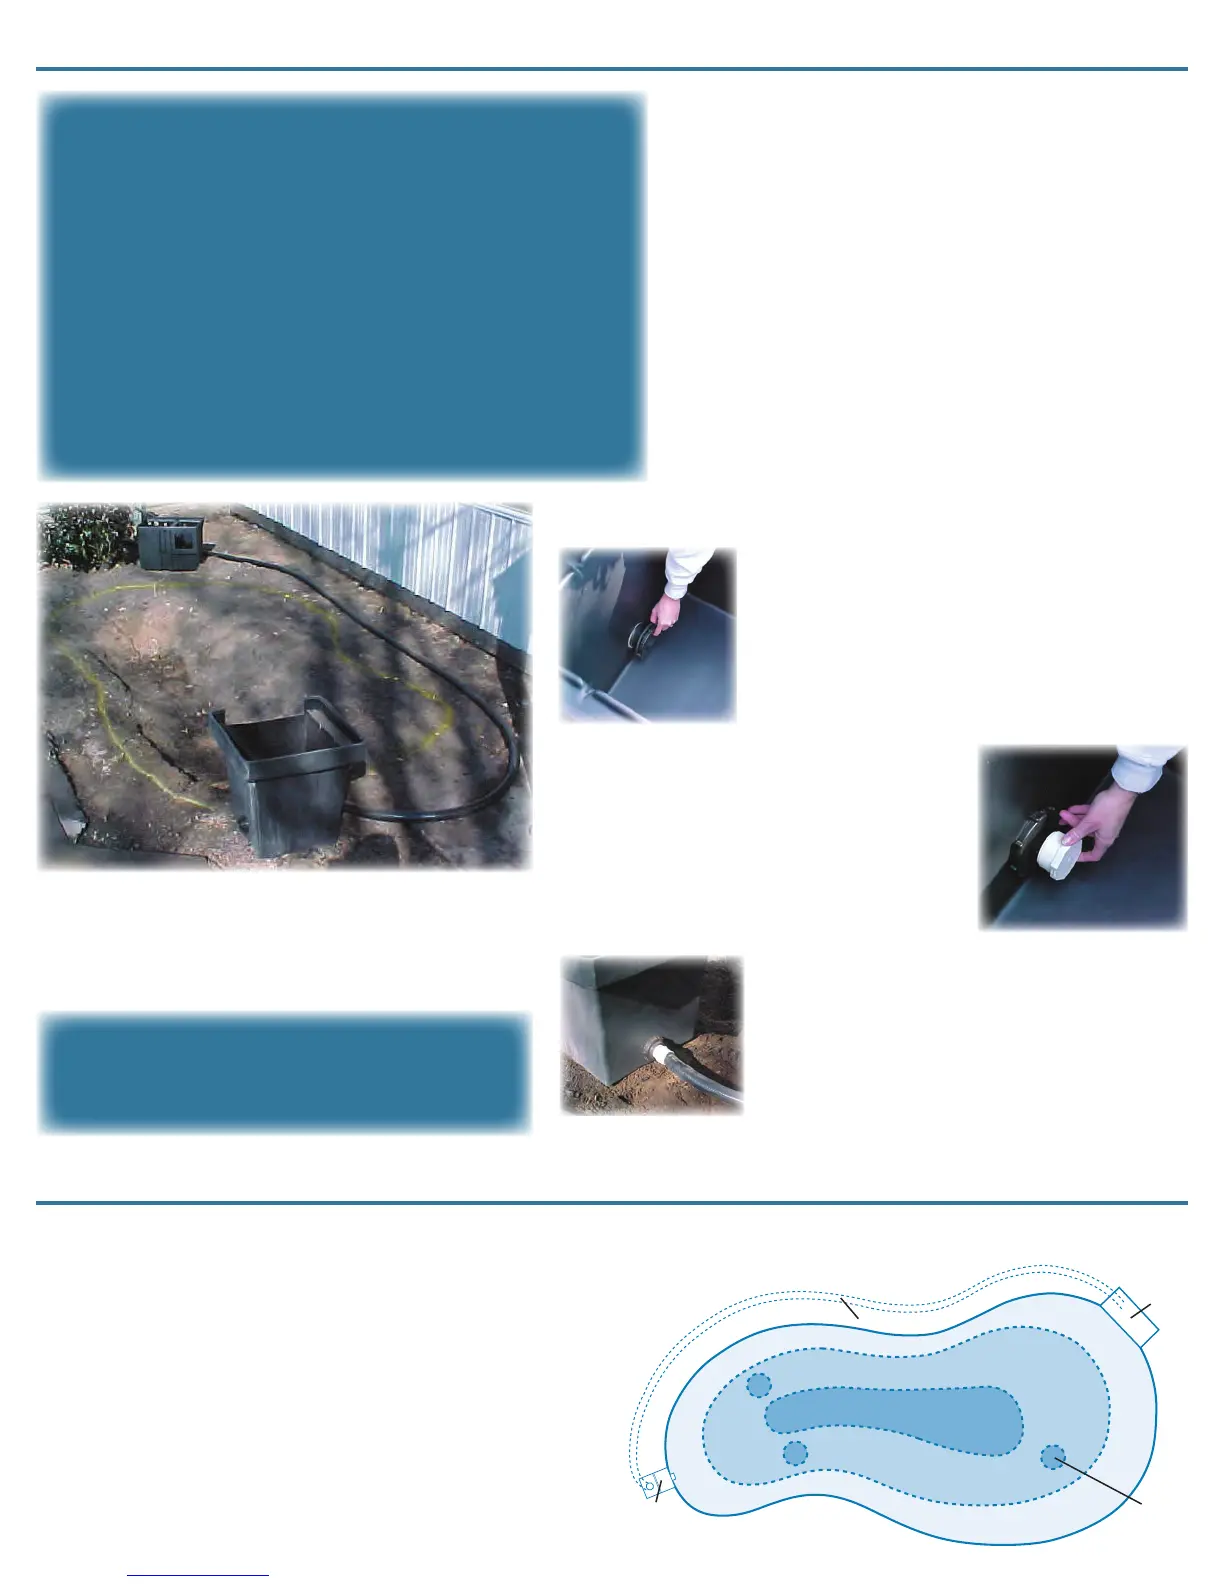
Here we are redoing a small pond in front of a business. The
previous pond did not have a skimmer or AquaFalls lter.
The owners wanted the pond larger and a stream added.
Note the shape has been painted and skimmer, lter and
pipe are in position.
Install tting with rubber gasket on the
inside and the nut on the outside.
AquaFalls lters have inlets in each side.
Simply use the side that’s most convenient
and plug the other side or add a ball
valve to make a drain for your lter. Apply a
small amount of silicone to the threads of the
plug before installing in second hole. Be sure
to install plug on the inside of the lter.
After both bulkheads are installed and the second
hole is plugged, apply silicone to the PVC male
adapter and turn into the bulkhead tting. Be sure
both pipe and tting are free of dirt, then apply
PVC primer to both followed by PVC glue. Insert
pipe into tting and allow to set for several minutes
before burying.
See “Installing AquaFalls Filter” page 5 for details on
installing lter. Only bulkhead and PVC ttings need
to be installed at this time.
Be sure AquaFalls lter is installed level from
side to side and tipped forward
1
/
2
" to 1". Be
sure soil under lter is compacted to prevent
future settling.
Pondswithawaterdepthof24"orlessarenottypicallysubject
tolocalordinances,therefore,mostpondbuildersstaywithin
thisdepth.Whenexcavatingtheholeyoucandigafewinches
beyondthedesiredwaterdepthasthestoneputovertheliner
willllinthedepthafewinches.
Pondsshouldbedugwithavarietyofshelfdepthstoaccommo
-
dateplants.Marginalplantslikewater1"to12"deepwhilelilies
likeadepthof14"-20".Pocketscanalsobeformedunderthe
linertocreateareastoplantliliesin.
Oneofthemostimportantthingsinbuildingapondistomake
suretheperimeterofthepondislevel.Iftheperimeterisnot
Caution! Always call local utilities before you dig!
 Loading...