6
OPTIONAL AUTOMATIC FILL VALVES
Automatic ll valves are a handy way to keep your pond water at the
correct level. The ll valve will replace water lost to evaporation or small
leaks so your pond maintains the correct level. You can connect a garden
hose or tee into your irrigation system.
There are several sizes of water ll valves available. Please contact your
EasyPro dealer for more information or to order.
CONNECTING THE AQUAFALLS (continued)
TheminiAquaFallsinstallsdierentlythantheotherAquaFallslters.Theltertubandstone
liparemoldedintoonepiece.Thelinerisheldtothetub,underthelip,byaplasticstrip
andvebolts.Placeabeadofsiliconeovertheboltinserts,holdupliner,thenattachplastic
striptotubwithboltsandwashers.
Thereisonlyoneinletholeontheminilters.Installthebulk
-
headttingintotheholeandtighten.APVCmaleadapterisin
-
cludedtoconnectthePVCpipetothelter.Installlterstand,
lterpadsandmediabagasoutlinedonthepreviouspage.
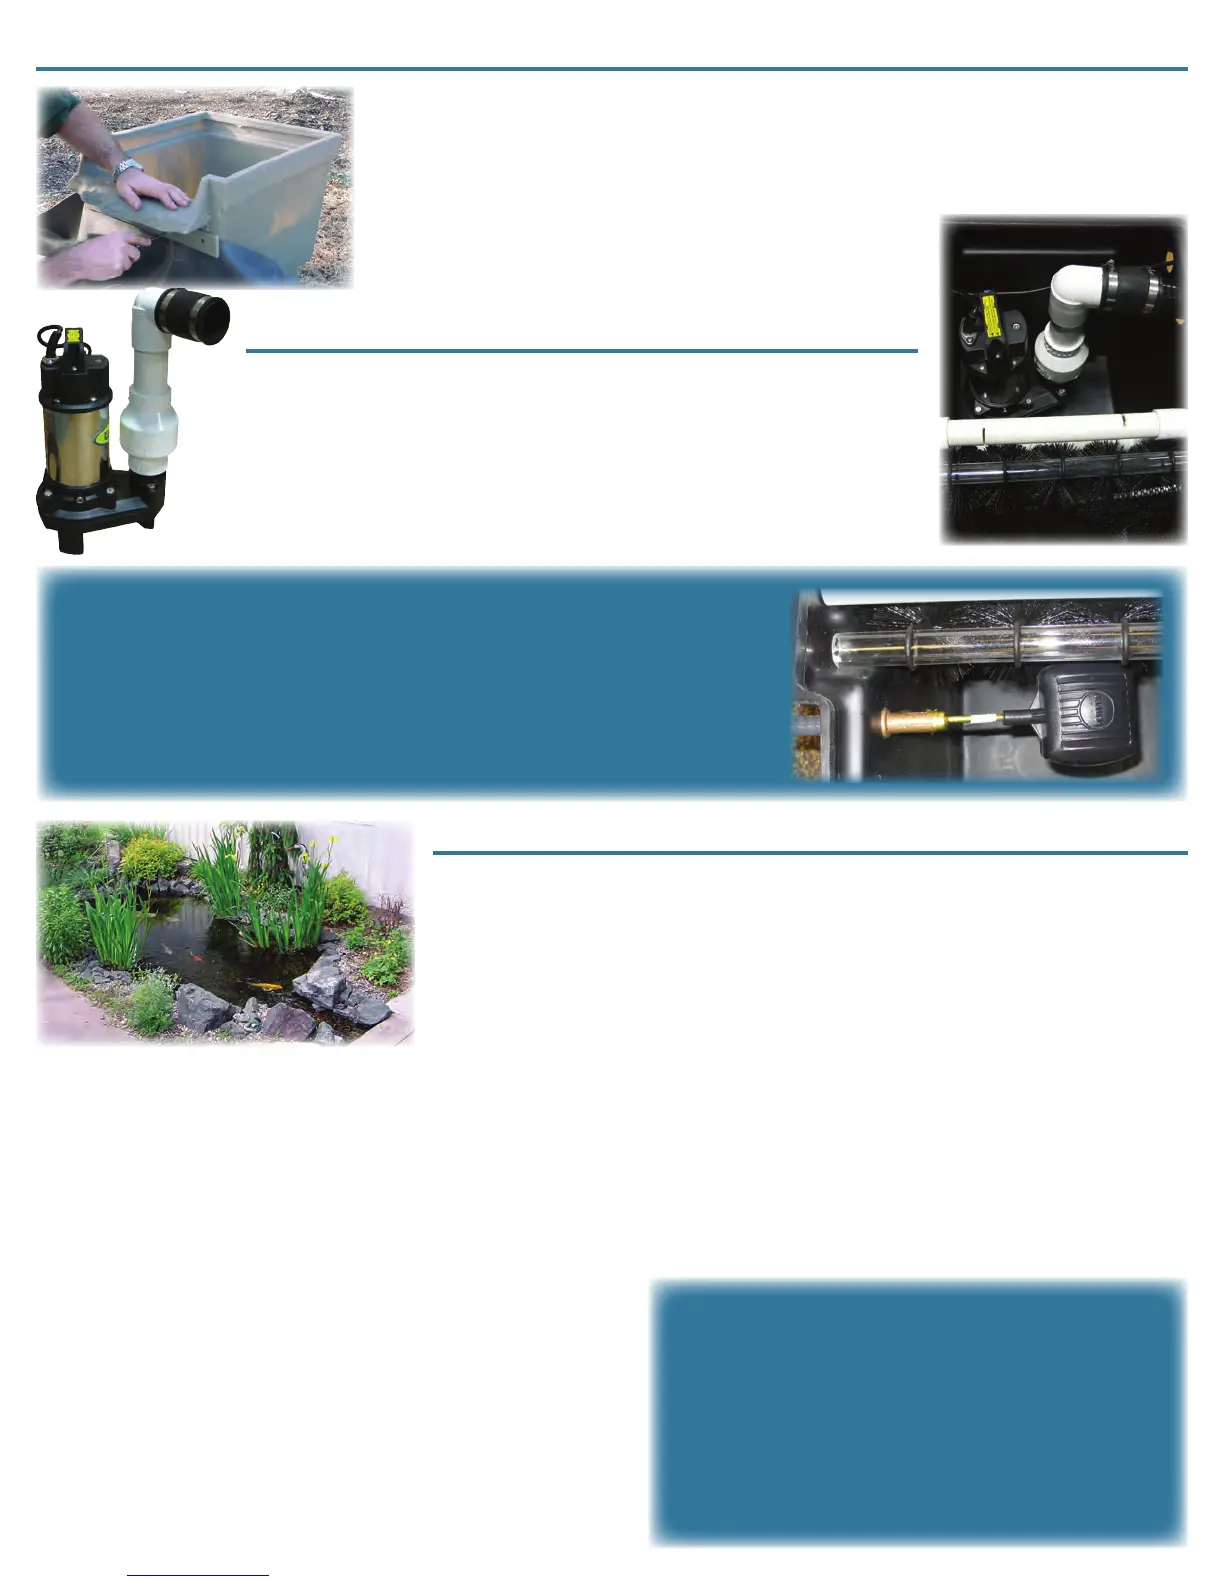
INSTALLING PUMP - Step 10
Yourpondkitincludesacheckvalveassemblywhichallowswatertobe
pumpeduptothelterbutdoesnotallowback-owfromtheltertoskim
-
mer.Threadthecheckvalveassemblyintothepumpdischarge.Placethe
pumpintotheskimmer.Ifyourcheckvalvehasarubberboot,slidethe
bootovertheexiblePVCpipeandtightenclamp.Ifyourcheckvalvehas
builtinunions,gluetheoutletontotheexiblePVCpipe.
FILL, TWEAK & FINISH - Steps 11 & 12
Yourpondisnowinstalledandyoucanbegintollwithwater.Whileyouarewaiting
forittollyoucanbeginthecleanupprocess.Oncethepondhasreacheditslling
point(
3
/
4
"-1"belowtopofopeningonskimmer)youcantestthepumpandwater
-
fall.Adjustrocksifnecessarytocreateoptimumvisualeect.Oncethesystemis
runningyoucangoaroundtheperimeterofthepondwithapairofscissorsandtrim
the liner. Always leave several inches of liner when trimming!Covertheexposed
lineraroundtheperimeterofthepondwithsmallstone.
Theentirepondsystemisnowcomplete.Anylandscapemulch,plants,trees,etc.
cannowbeplanted,dependingonwhatwasallincludedinyourbid.
Onceyouarenishedwiththeprojectandhavethoroughlycleanedupyoucaninvitethehomeownersoutandshowthemtheir
newpond!Youshouldthentakethetimetoshowthemthesystem,explainmaintenanceproceduresandshowthemhowtoadd
thebacteria.Thedosagerateisonthebottle.
APPROXIMATE GALLONS PER POND:
6'x6'Pond ............. 400 Gallons
6'x11'Pond ........... 750 Gallons
8'x11'Pond ......... 1000 Gallons
11'x11'Pond ....... 1400 Gallons
11'x16'Pond ....... 2000 Gallons
Theestimatesbelowarebasedona2'deeppond.The
overallshapeofthepond,theamountofplantshelvesand
thenisheddepthwilldetermineactualgallons.
Determining actual gallons in your pond:
1. Timehowmanysecondsittakestollavegallonpail
Example: 30 seconds
2. Timehowmanyminutesittakestollthepond
Example: 150 minutes
3. Dividethenumberofsecondsfrom#1bysixtytoconvert
fromsecondstominutes
Example: 30 ÷ 60 = .5 minutes to ll a ve gallon pail
4. Todeterminethegallonsperminute,divideve(gallons)by
theminutesyouguredoutin#3
Example: 5 ÷ .5 = 10 gallons per minute
5. Foryouractualgallonsinpondtakethegallonsperminute
from#4andmultiplybytheminutestollpondfrom#2
Example: 10 x 150 = 1500 gallons in pond
 Loading...