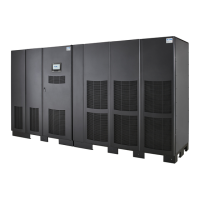
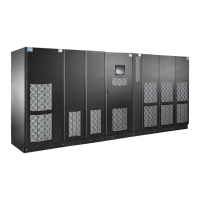
70 Eaton 9395XC UPS 1200kW/1200kVA, 1350kW/1350kVA or 1500kW/1500kVA 164001079—Rev 01
NOTE Remove the UPS cabinet interface entry conduit landing plates to drill or punch holes
(see Figure 28).
NOTE The REPO switch must be a normally-open or normally-closed latching-type switch not
tied into any other circuits.
NOTE This procedure is intended to be used for the installation of the Eaton-supplied REPO
switch. If installing another manufacturer's switch, use this procedure only as a guide.
NOTE The REPO switch wiring must be in accordance with NEC Article 725 Class 2
requirements.
To Install a REPO switch:
1. Verify the UPS system is turned off and all power sources are removed. See
Chapter 7 UPS Operating Instructions for shutdown instructions.
2. Securely mount the REPO switch. Recommended locations include operator's consoles or near exit doors.
See for enclosure dimensions and wiring knockouts.
3. Unfasten the front door latch and swing the door open (see Figure 16).
4. Remove the front door. Remove the retaining screw located inside the door at the bottom hinge pivot
point, then lift the door off. Retain the hardware for later use.
Figure 38. REPO Switch
Contact Block (Back View, Faceplate Removed)REPO Switch (Front View)
5. To gain access to J89 MCU Board and the interface entry conduit landing plate, remove the screws
securing the ISBM deadfront panel and remove the panel. Retain the hardware for later use (see
Figure 32).
6. Remove the right interface entry conduit landing plate to drill or punch holes (see Figure 28).
UPS System Installation
 Loading...
