SM65 Supervisory Module Handbook
44
Copyright © 2004-2009 Eaton Corporation. All Rights Reserved.
IPN 997-00012-35E December 2009
Step 7 - Download the appropriate configuration file into the new SM65
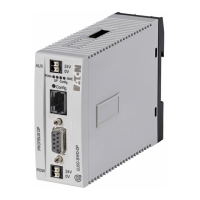
1 Connect a null modem cable from the front RS232 serial port of the SM65 to
the serial port of the PC.
2 Start DCTools. If required, press F1 for DCTools online help.
3 On the File menu of DCTools, click ICE Backup/Restore. The Target
Configuration Database Backup Wizard dialog is then displayed.
4 Select Restore then click Next.
5 Browse to the configuration file and click Next. Once the restore operation
has been successfully completed, click Finish.
6 Check through the loaded configuration file in DCTools and make any
required changes.
7 If you make any changes, save the configuration file with a new file name.
Step 8 - Check that the new SM65 operates as intended
1 Check all control functions, alarms and current measurement.
2 Check the power system identification parameters and communications
settings.
3 Change the configuration file as required to ensure that the SM65 operates
as intended.
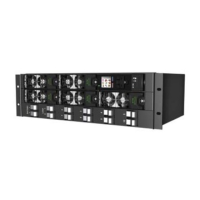
4 Check that all rectifiers are communicating and that the SM65 has registered
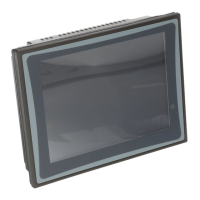
all rectifiers. This can be checked from the LCD display by viewing the
individual rectifier currents in Main Display Mode. See supervisory module
menu structure on inside front cover or Viewing System Values on page
11
for details.
Step 9 - Reset any LVD controllers to Auto
If any LVD controllers were set to Manual Connect in Step 1 then reset them to
Auto.
Refer to the DC power system Installation Guide for information on how to set
the LVD Auto/Manual selector switch.
Procedure complete

 Loading...