Quick Start Guide
– 2 –
DRAFT
Connect Cables
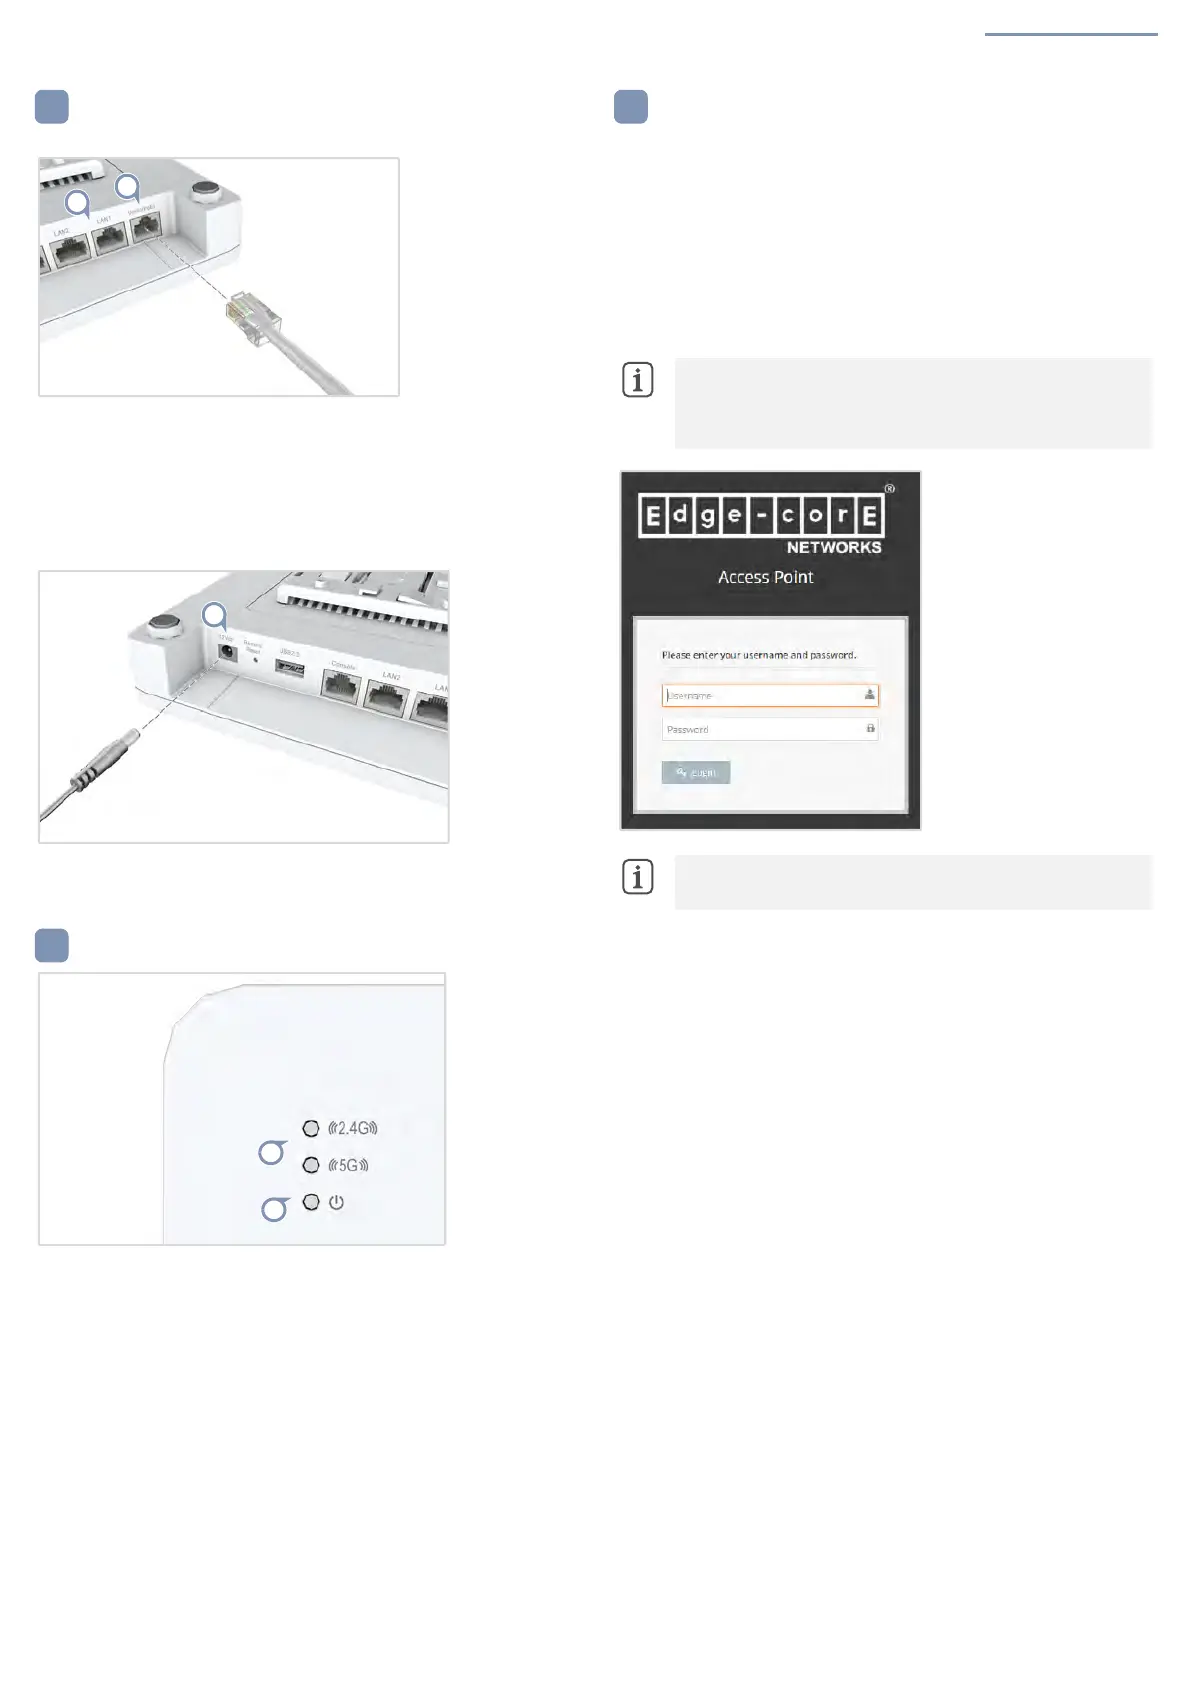
a. Connect LAN Cables
1.
Connect Category 5e or better cable to the Uplink(PoE) 2.5G RJ-45
port. When connected to a PoE source, the Uplink(PoE) port
connection provides power to the unit.
2. (Optional) Connect a local LAN switch or computer to the LAN1 or
LAN2 1000BASE-T RJ-45 ports.
b. (Optional) Connect AC Power Adapter
1.
Connect the AC power adapter to the DC power jack on the AP and
then plug the adapter into a nearby AC power source.
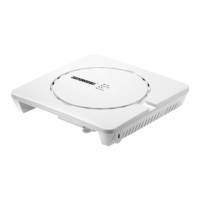
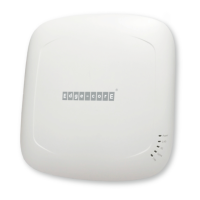
Check AP LEDs
1. 2.4G and 5G LEDs — on green for radio enabled.
2.
Power/Status LED — on green for normal operation.
Connect to the Web User Interface
1.
Connect a PC directly to the AP’s LAN1 or LAN2 port.
2. Set the PC IP address to be on the same subnet as the AP LAN port
default IP address. (The PC address must start 192.168.2.x with
subnet mask 255.255.255.0.)
3. Enter the AP’s default IP address of 192.168.2.1 into the web
browser address bar.
4. Log in to the web interface using default settings:
Username = admin
Password = admin
Note:
To connect to the web interface using the Uplink(PoE)
port, the IP address is automatically assigned through DHCP by
default. If a DHCP server is unreachable, the Uplink(PoE) port
reverts to a fallback IP address of 192.168.1.10.
Note:
To reset the AP to factory default settings, press and
hold down the AP’s Restart/Reset button for 5 seconds.