12
Site Preparation
6 Install and connect the water supply line. See
Connecting the Water Supply for installation
requirements.
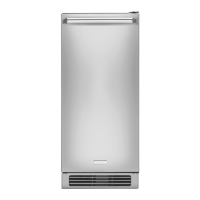
7 Position the unit to allow free air flow through the
front grille (see Figure 6).
8 Wipe out inside of unit with a damp cloth.
NONO
NONO
NO
TETE
TETE
TE
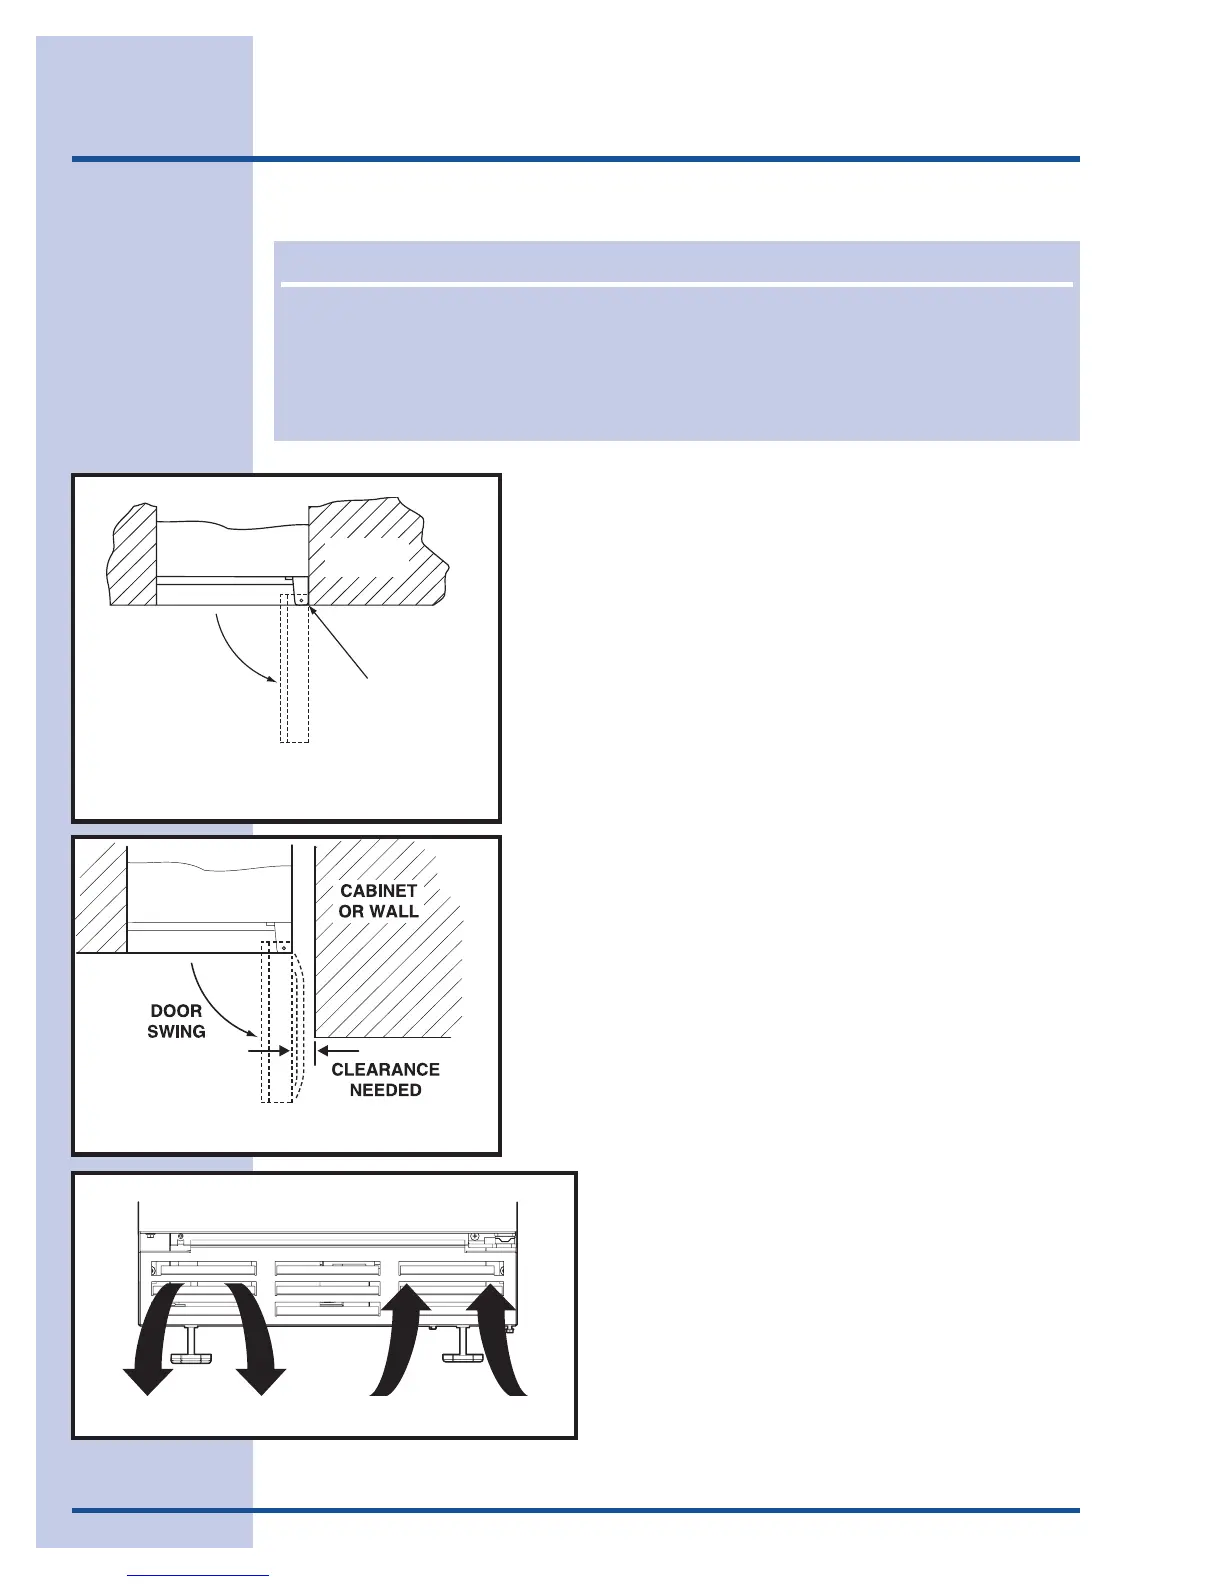
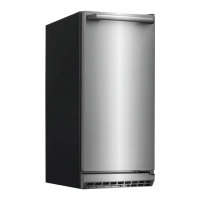
The door of the unit may be mounted on either side of the cabinet (see REVERSING THE
DOOR). All units require zero clearance when installed flush with a cabinet or wall (see
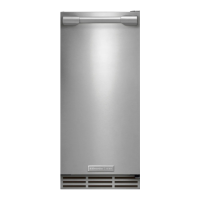
Figure 4). Electrolux stainless steel models require a minimum 2-3/4 inch handle
clearance when installed against a wall or cabinet that extends beyond the front edge of
the unit (see Figure 5).
UL124A
DOOR
SWING
CABINET
OR WALL
0"
CLEARANCE
NEEDED
INTAKEEXHAUST
Figure 4
Figure 6
2 - 3/4”
Figure 5