Do you have a question about the Electrolux Ergorapido ZB3006 and is the answer not in the manual?
Fit and secure the handle using the provided locking screw, requiring a screwdriver or coin.
Connect the adaptor to mains and place station on a stable, horizontal surface away from heat and moisture.
Orange light indicates charging; slow blinking signifies a full charge.
LEDs show charge level; provides estimated charging times for different voltage models.
Ensure nozzle wheels and brush roll are free from debris to prevent floor scratches and ensure optimal performance.
The wall unit can be mounted on a wall, ensuring the wall can support the appliance's weight.
Start/stop with button A; select power settings (high or silent mode) using button B.
Store crevice nozzle and brush in station or handle. Use crevice nozzle for hard-to-reach areas, brush for dusting.
Helps keep brush roll free from hair/fibres. Recommended weekly use when fully charged for best results.
Do not use on carpets. Press pedal for 5 seconds to clear hair/fibres. Auto-stop after 30 seconds.
If function stops, place unit in charging stand to reactivate BRC function.
Press button (A) to open the container and release buttons to remove filters.
Empty contents into a dustbin. Never wash the container or filters in a dishwasher.
Pull rod (B) to remove dust from the inner filter. Repeat this action five times.
Remove both filters by pressing release buttons and then separate them.
Rinse filter parts under lukewarm water without detergents. Do not use a dishwasher or washing machine.
Shake off excess water and dry filters for at least 12 hours. Ensure they are completely dry before reinsertion.
Regular filter cleaning is crucial for maintaining high cleaning performance.
Loosen hose, remove any blockages in the hose or air channel, then reattach the hose.
If wheels jam, use a flat screwdriver to carefully remove them for cleaning or freeing.
Describes normal indicator lights for battery level and charging status.
Explains warning lights for low battery, blocked brush roll, overheating, and BRUSHROLLCLEAN™ overuse, with corrective actions.
Take to authorized service center for breakdowns. Replace damaged power cord or charger with Electrolux parts.
Electrolux not liable for damage from misuse or modifications. Battery life loss not covered.
Product designed with environmental respect. Conforms to directives; plastic parts marked for recycling.
Symbol indicates product is WEEE waste and must be returned to collection points for recycling.
| Model | ZB3006 |
|---|---|
| Power Source | Battery |
| Battery Type | Lithium-Ion |
| Battery Voltage | 18V |
| Runtime | 30 minutes |
| Charging Time | 4 hours |
| Dust Capacity | 0.5 liters |
| Weight | 2.5 kg |
| Filtration | Washable Filter |
| Included Accessories | Crevice Tool, Dusting Brush |
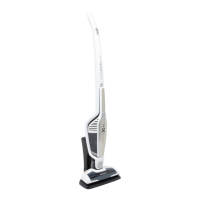
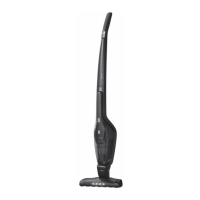
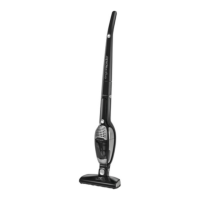
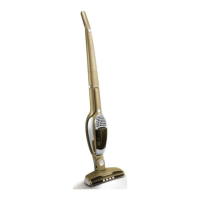
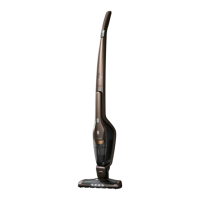
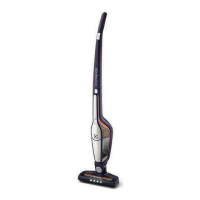
| Type | Stick Vacuum Cleaner |