Once downloaded and installed, the following steps should be followed:
1) SELECT UNIT PREFERENCES. Click on the “UNITS” tab on the bottom left
of the home screen (Fig.3D, pg.10) and select the units you feel most
comfortable with. These will be needed when creating profiles, but
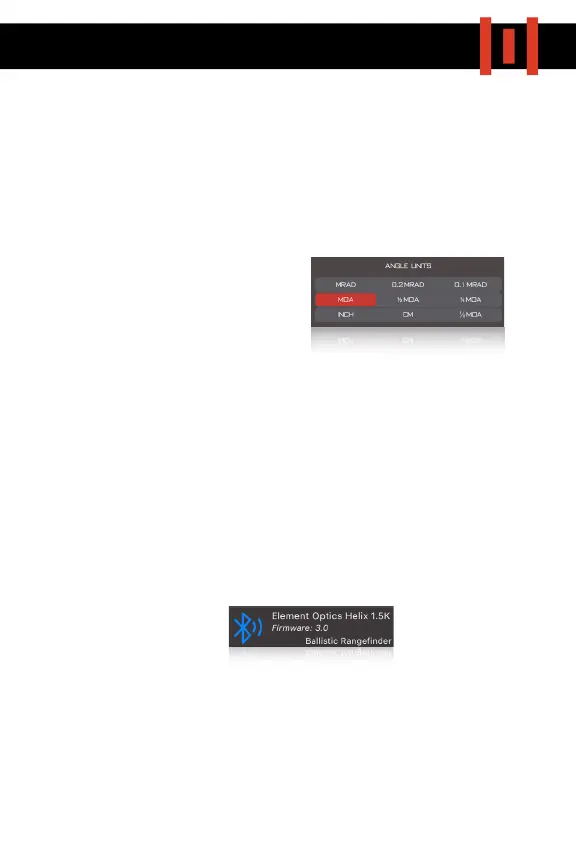
more importantly for us, the
ANGLE UNITS selection (Fig.4A)
will determine how data within
the ballistic display area of the
rangefinder will be shown. If
MRAD or MOA are selected, the
rangefinder will display this unit preference in-screen. If any other
unit is selected, the rangefinder will display a click value only.
2)
CREATE PROFILE. Select a profile tab (Fig.3A) and begin to enter all
required data (Bullet, Scope Height, Zero Distance, Muzzle Velocity,
etc). You can also update weather data and input wind conditions
(Fig.3B)
3)
CONNECT TO YOUR HELIX 1500. Ensure your bluetooth is activated and
rangefinder switched on. You will see a tab on the home screen
indicating that the HELIX 1500 is within range (Fig.3C). Tap on this tab,
and the device will pair.
4) SET SCREEN TIMEOUT & UPLOAD PROFILE. Select your preferred screen
timeout on the configuration screen (Fig.5A) and choose a profile you’d
like to upload (Fig.5B). Ensure that you send the correct profile, as the
HELIX 1500 can only store one at a time.
 Loading...