28
PROGRAMMING TIME BANDS
The time bands associated with the keys are programmed from this menu.
Each time band can be activated on one or more days of the week and has
two time windows, valid for days programmed weekly.
TIME BANDS MENU
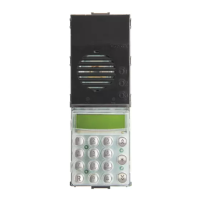
To access the “TIME BANDS” menu, simultaneously press push-buttons
R + 4 and enter the technical programming password (parameter 8). The
default value is 123.
The entrance panel initially displays the firmware version then after 10 se-
conds or when a button is pressed it enters the setup menu.
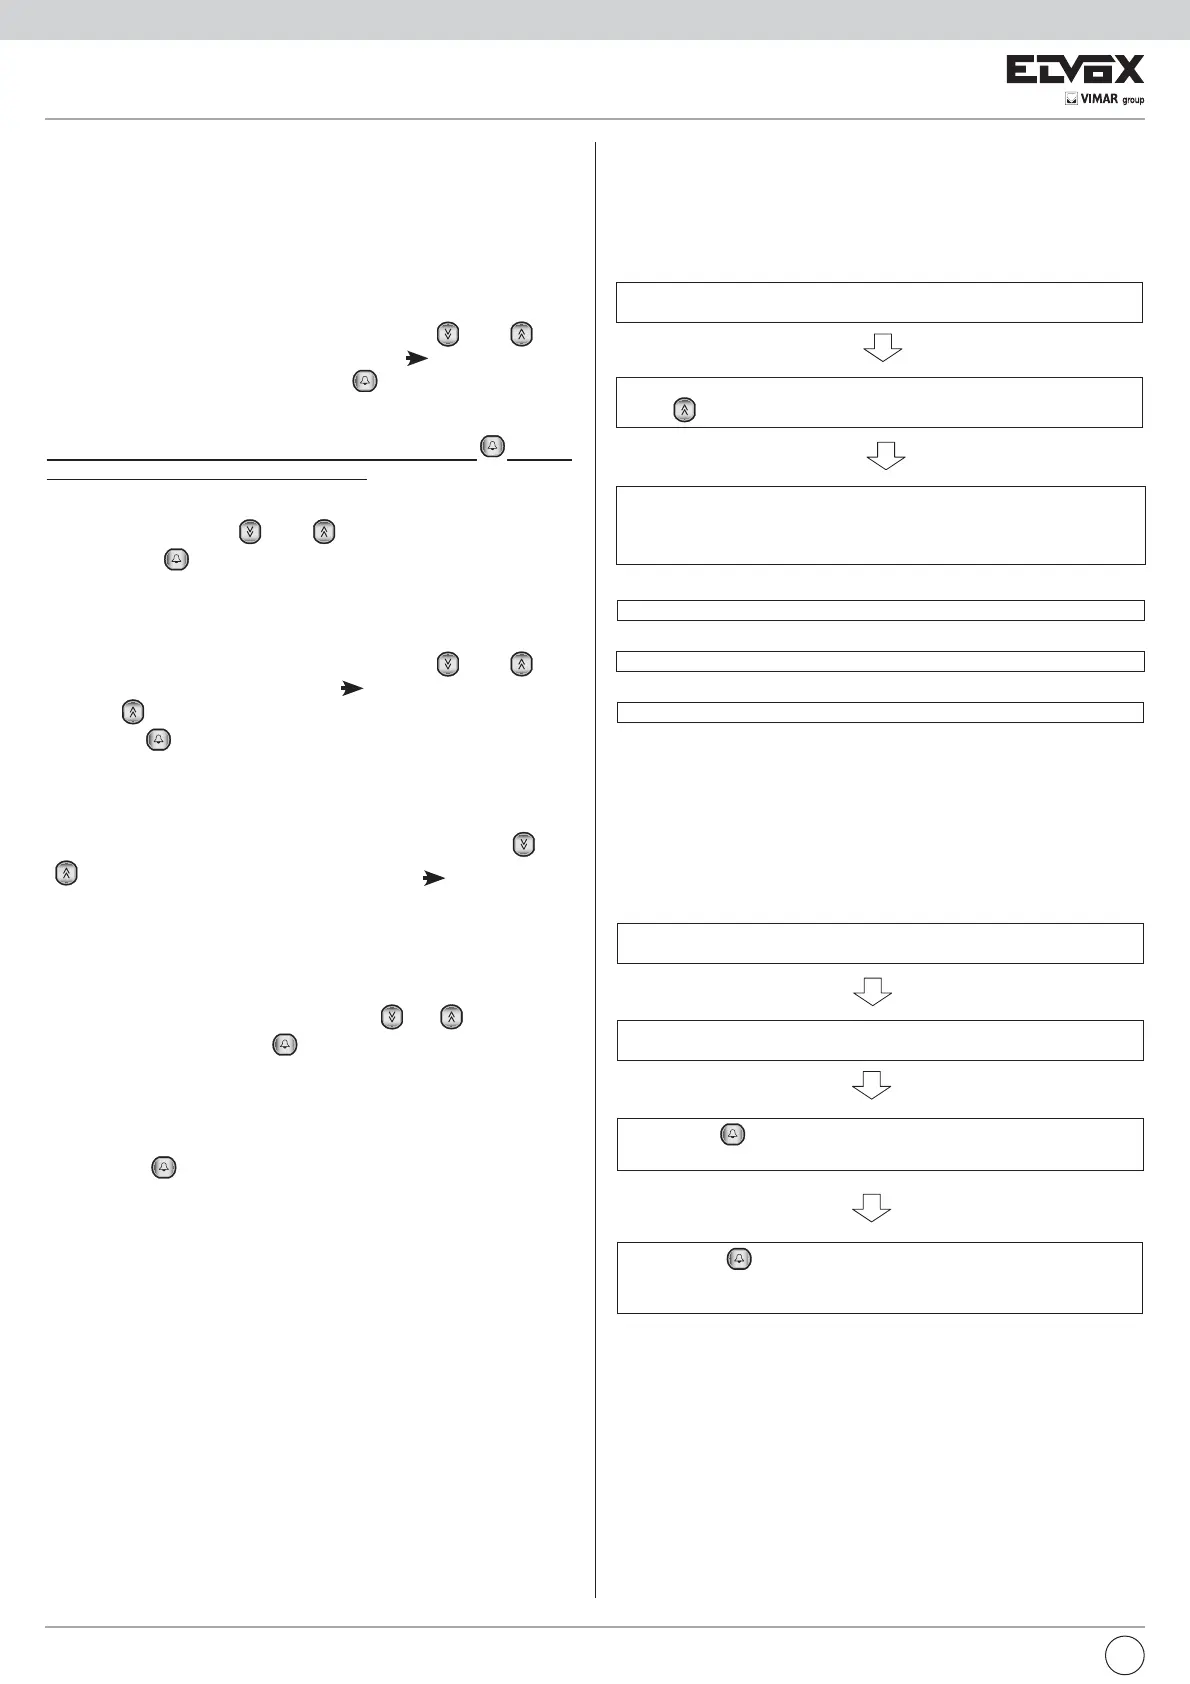
The various submenu items can be scrolled using the “
” and “ ” but-
tons. The selectable submenu is indicated by the “
” arrow.
Select the item “TIME BANDS” and press “
”.
PROGRAMMING THE TIME BAND
Important: To store the changes made in a submenu, press “
” to scroll
all of the submenus and pass to the next key.
To program a time band:
VFUROOWKHOLVWXVLQJWKH“
” and “ ” buttons. After selecting the time
band, press “
” to pass to the “DAY OF THE WEEK” submenu.
DAY OF THE WEEK
Each bit indicates the day of the week on which the key is active. The days
range from Sunday (first bit) to Saturday (last bit)
To modify the status of the bit, select the bit using the “
” and “ ” but-
tons. The selected bit s indicated by the “
” arrow.
Pressing “
” changes the status of the bit.
Pressing the “
” button passes to the “FIRST TIME WINDOW” submenu.
FIRST TIME WINDOW
The time window (format 0 – 23) has start hour and minutes and end hour
and minutes.
To modify the time window, select the hour and minutes using the “
” and
“
” buttons (the selected data is indicated by the “ ” arrow) and enter
the new value. The entrance panel is equipped with an algorithm to acquire
the new value and pass to the next one based on the modified value. For
example, if you modify the hour by entering a number greater than 2, for
example 5, the value is considered valid immediately and the entrance
panel passes to the next one, if however you enter 1 you may want to input
1 or 17, therefore the entrance panel waits for another digit to be entered.
In this case enter either 01 or 1 followed by the “
” or “ ” button to pass
to the next value. Pressing the “
” button passes to the “SECOND TIME
WINDOW” submenu.
SECOND TIME WINDOW
Proceed as described above for the first time window.
Pressing the “
” button saves the changes made to the selected time
band and passes to the next one.
simultaneously press push-buttons R and 7, the following message appe-
ars “Password”:
AGENDA PROGRAMMING AND USE
Accessing the agenda management menu
The entrance panel manages an agenda which can contain up to 2000
users. To enter a new user, delete an existing user or to erase the entire
agenda use the “agenda management” menu.
To access the “agenda management” menu:
enter the “agenda key” password (par. 09), the default setting is 222, and
press “
”
the “agenda” menu appears which has three items:
1) insert user
2) delete user
3) erase agenda
To delete a user, press 2
To erase the entire agenda, press 3
To insert a new user, press 1
Pressing the R button returns to the main menu.
Inserting a new user
From the “agenda management” menu select option 1.
The following message appears:
At this point it is possible to insert the name using the entrance panel
keypad
Enter name
|
pressing the “ ” button completes the procedure. If the new user is
stored the message “DONE” appears, otherwise if the user is present in
the agenda, the message “Record already present” appears.
pressing the “ ” button stores the name; the number of the internal user
can be inserted via the entrance panel keypad
To select the desired character, press the corresponding button several
times according to the table below.
EN
 Loading...