11
Fig. 1
Fig. 2
Fig. 3
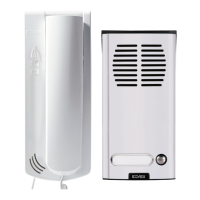
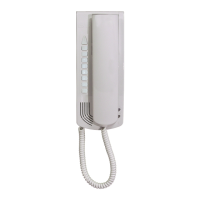
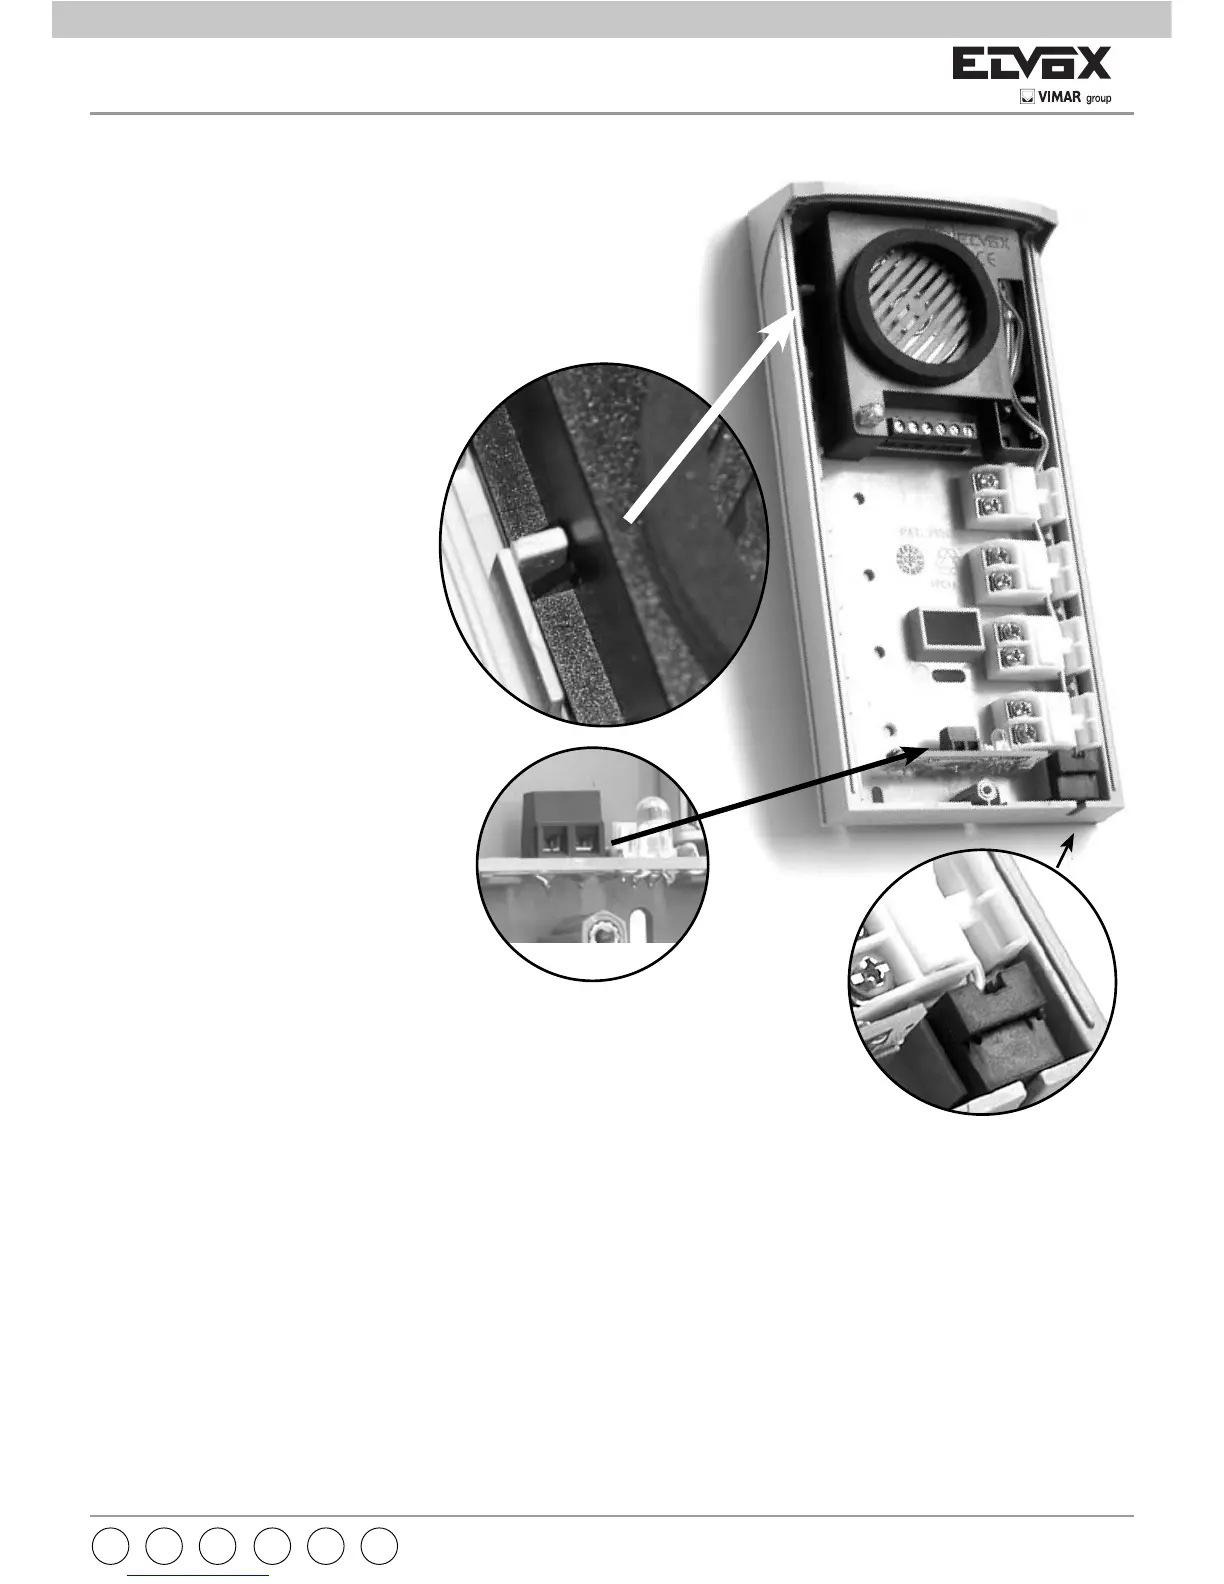
Inserire il posto esterno nella sede della
targa (come indicato fi g. 1), estrarre il
microfono dal posto esterno e inserirlo
nella sede della targa come indicato in
fi g. 2. Collegare le linee di chiamata ai
pulsanti, il posto esterno all’impianto,
l’alimentazione dei LED viene collegata
ai morsetti di fi g. 3.
Fit the speech unit in its seat in the
entrance panel (as shown in fi g. 1), re-
move the microphone from the speech
unit and fi t it in its seat in the entrance
panel as shown in fi g. 2. Connect the
call lines to the pushbuttons, and the
speech unit to the system; the power
supply for the LEDs is connected to the
terminals shown in fi g. 3.
Introduire le poste extérieur dans le lo-
gement de la plaque (comme indiquée
sur les fi g. 1), sortir le microphone ou du
poste extérieur et l’introduire dans le lo-
gement de la plaque comme indiqué sur
les fi g. 2. Relier les lignes d’appel aux
boutons, le poste extérieur à l’installa-
tion ; l’alimentation des diodes électrol-
uminescentes est reliée aux bornes de
la fi g. 3.
Die Außensprechstelle am Klingel-
tableau einsetzen (wie auf Abb. 1
dargestellt), das Mikrofon aus der Au-
ßensprechstelle nehmen und wie auf
Abb. 2 dargestellt am Klingeltableau
einsetzen. Die Rufleitungen an den
Tasten, die Außensprechstelle an der
Anlage anschließen. Die Versorgung
der Leds wird an den auf Abb. 3 darge-
stellten Klemmen angeschlossen.
Instalar el aparato externo en la sede
de la placa (de la manera ilustrada en
las fi gs. 1), extraer el micrófono del apa-
rato externo e introducirlo en la sede de
la placa como se ilustra en las fi gs. 2.
Conectar las líneas de llamada a los
pulsadores, el aparato externo a la in-
stalación y la alimentación de los LED a
los bornes indicados en la fi g. 3.
Inserir o posto externo na sede da boto-
neira (conforme o indicado nas fi gs. 1),
extrair o microfone do posto externo e
inserí-lo na sede da botoneira conforme
o indicado nas fi gs. 2. Ligar as linhas de
chamada aos botões, o posto externo à
instalação, a alimentação dos LEDs é
ligada aos bornes da fi g. 3.
PTESDEFRENIT
 Loading...