Configurations
Choice of ringtones
10 different ringtones can be selected. Different ringtones can also be set
for outdoor, intercommunicating and door calls (see below). The ringtones
must be selected with the monitor on stand-by and the handset on the
hook.
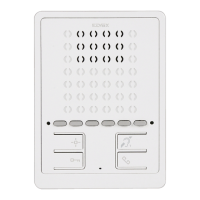
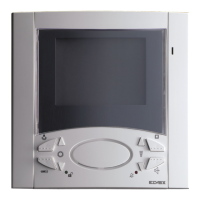
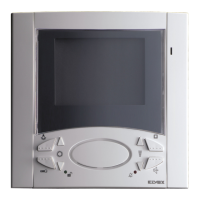
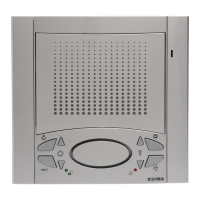
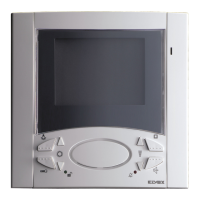
The button for entering configuration mode is button A (self-start).
Button E1 selects the ringtone for ENTRANCE PANEL CALL.
Button E2 selects the ringtone for INTERCOMMUNICATING CALL.
Button E3 selects the ringtone for DOOR CALL (exclusively using the but-
ton interface module 6120 or Vimar landing call button). In the case of a
door call by means of a button connected directly to the monitor’s termi-
nals FP and M, the ringtone cannot be changed.
Configuration:
1) Press button A (self-start) and hold down (for 2 s) until the LED C (lock)
begins flashing and the monitor emits an audible signal.
2) Press and hold down the button for the chosen ringtone (button
E1/button E2/button E3) until the ringtone is heard on the monitor.
3) Press the button repeatedly (button E1/button E2/button E3) to select
the desired type of ringtone.
4) After choosing the desired ringtone, press button A or refrain from tou-
ching any buttons for 5s to save. After completing the configuration,
the LED flashes and then turns off.
Ringtone volume adjustment
The ringtone volume can be set to 6 levels plus mute.
Press button A (self-start) to enter configuration mode.
Press button B (bell) to lower the ringtone volume.
Press button C (key) to increase the ringtone volume.
The ringtone volume must be adjusted with the monitor on stand-by and
the handset on the hook.
Configuration:
1) Press button A and hold down (for 2 s) until the LED C (lock) begins fla-
shing and the monitor emits an audible signal.
3) Press button B to lower or button C to increase the volume. Each time
the buttons are pressed the volume changes by one level.
4) After choosing the desired volume, press button A or refrain from tou-
ching any buttons for 5s to save. After completing the configuration,
the flashing LED goes off and a “beep” is emitted.
Muting the ringtone (User Away function)
Using the volume adjustment procedure described above, pressing button
B a sufficient number of times results in the ringtone being muted. The
“Ringtone muted” status is indicated by the button B LED (ringtone muted)
lighting up steadily.
If the monitor receives a call from the entrance panel while the ringtone is
muted, this is indicated by the LED/button B emitting one flash for each
unanswered call up to a maximum of 4 calls (these flashes occur every 10
s). When the ringtone volume is restored, at least to its minimum level, this
indication will be reset.
Maintenance
Clean the monitor using a soft cloth, which can be dry or slightly dampe-
ned with water. Do not pour water directly onto the screen and do not use
any type of chemical product.
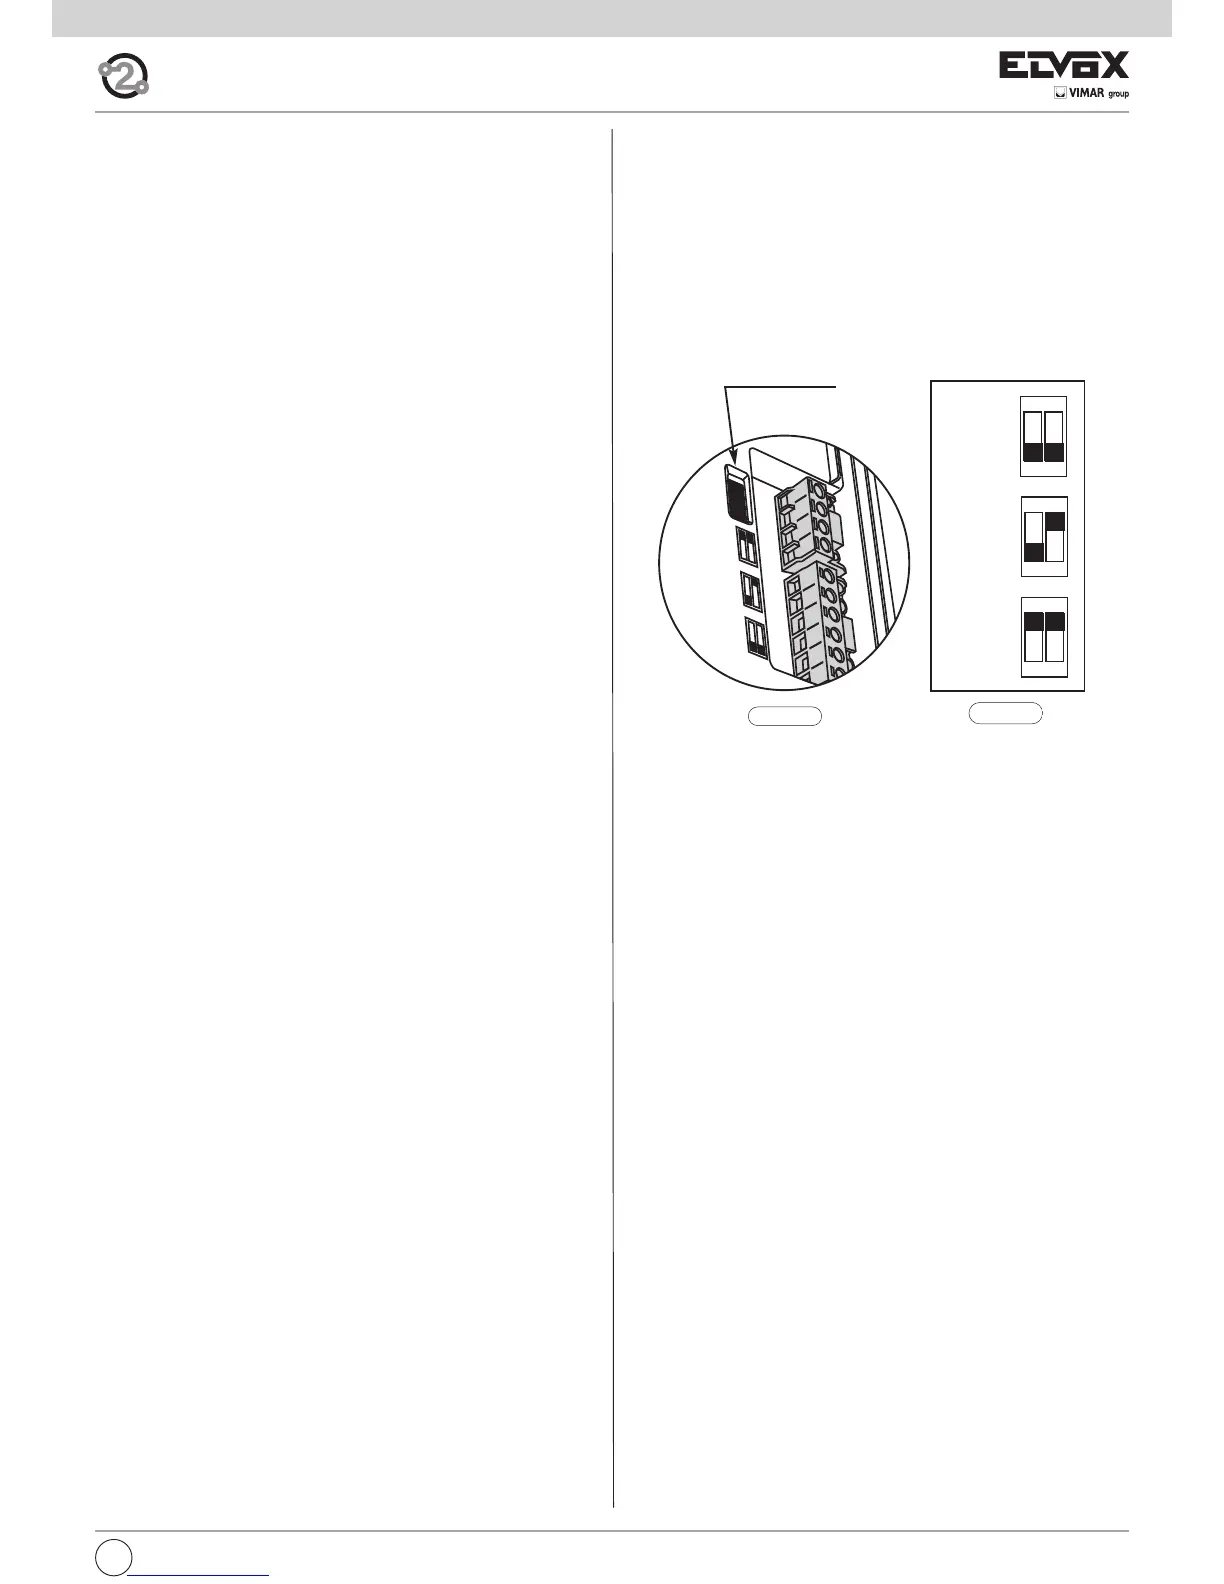
Bus termination for video signal stabilisation
The BUS termination dip-switches for video signal stabilization are located
in the rear of the monitor, near the terminal block.
Depending on the connection configuration (interphones/monitors connec-
ted in series or derived from a distributor), set the dip-switches in the ap-
propriate position (position A, B or C) according to the instructions given in
the note “Bus termination for ELVOX TWO-WIRE INSTALLATIONS” in the
wiring diagrams section below.
 Loading...