12
Reference Manual
00809-0100-4021, Rev JA
Installation
April 2017
Installation
With an LCD display
1. If the transmitter is installed in a loop, set the loop to OOS (if applicable) and disconnect the power.
2. Remove the housing cover on the electronics side of the transmitter. Do not remove the transmitter
cover in explosive atmospheres with a live circuit.
3. Unscrew the LCD display screws and gently pull the meter straight off.
4. Set the switches to the desired position.
5. Replace and tighten the LCD display screws to secure the LCD display.
6. Replace the transmitter cover. Both transmitter covers must be fully engaged to meet
explosion-proof requirements.
7. Apply power and set the loop to In-service mode.
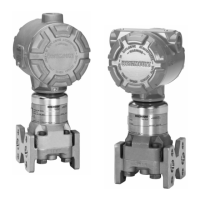
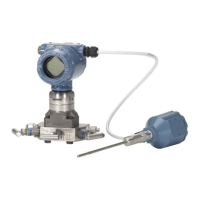
Figure 2-3. Transmitter Switch Locations
Write protect switch (HART and FOUNDATION Fieldbus)
The transmitter is equipped with a write-protect switch that can be positioned to prevent accidental or
deliberate change of configuration data.
Alarm switch (HART Protocol)
An automatic diagnostic routine monitors the transmitter during normal operation. If the diagnostic
routine detects a sensor failure or an electronics failure, the transmitter goes into alarm (high or low,
depending on the position of the failure mode switch).
The analog alarm and saturation values used by the transmitter depend on whether it is configured to
standard or NAMUR-compliant operation. These values are also custom-configurable in both the factory
and the field using the HART Communications. The limits are:
21.0 ≤ I ≤ 23 for high alarm
3.5 ≤ I ≤ 3.75 for low alarm
A. Switches
(1)
B. LCD display connector
1. Alarm and security (HART Protocol), Simulate and write protect (FOUNDATION Fieldbus).
4.37-in. (110,9 mm)
4.40-in. (111,8 mm)
A
B

 Loading...