6
6g 6h 6i
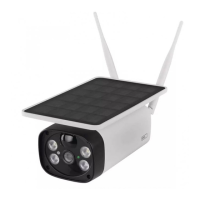
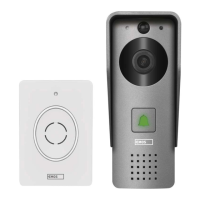
GB | IP Camera
Package contents:
Camera unit
Li-ion 18650 batteries
Mount
Micro USB cable
Mounting material – screws
Manual
Technical specications: camera unit
Power supply: 4× 2 200 mAh
Solar panel: 3.5 W
Resolution: 1 920 × 1 080
Lens: 2.69 mm JX-F37
Lens angle: 110°
PIR angle: 120°
PIR detection range: 10 m
Storage: SD card (max. 128 Gb), Cloud storage
Enclosure rating: IP55
Maximum number of users: 10
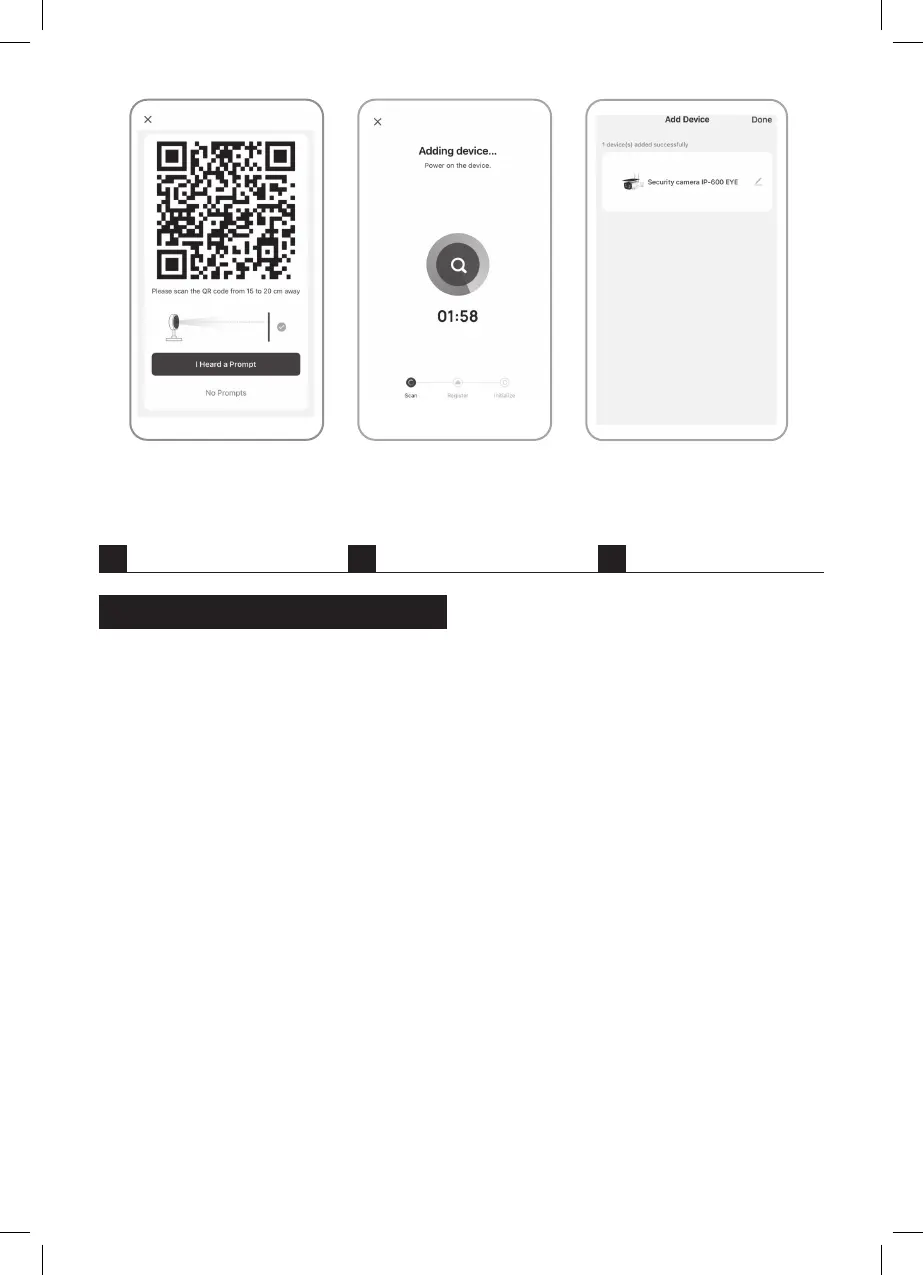
APP: EMOS GoSmart for Android and iOS
Connection: 2.4 GHz WIFI (IEEE802.11b/g/n)
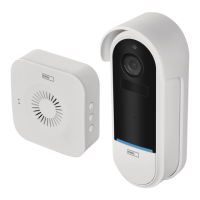
Description of the device: g. 1a
A – Solar panel
B – PIR sensor
C – LED light
D – Light sensor
E – Lens
F – Status LED
• LED ashing red: Waiting for network conguration.
• LED rapidly ashing green: Device joining the network.
• LED glowing green: Device added to the network.
• LED rapidly ashing red and green: Updating rmware.
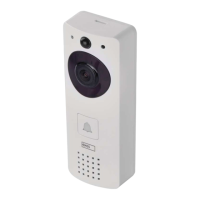
Description of the device: g. 1b
A – SD card slot
B – On/o button
C – RESET button
Pressing and holding RESET for 3 s resets the device
to factory settings.
D – Speaker
E – USB port
Mount installation: g. 2a
1. Choose a mounting spot that is exposed to sunlight as
much as possible during the day.
2. The camera unit must be placed at least at the minimum
recommended height of 3 m above ground.
3. Install the mount onto the wall using the enclosed screws.
Installing batteries: g. 2b
1. Unscrew and remove the cover on the underside of the
camera unit.
2. Insert the batteries, observing the correct polarity.
3. Before rst use, charge the batteries via USB + (a phone
charger) for 10 hours.
4. The LED will be ashing red once the batteries are
charged.
5. If the LED does not ash red after charging, press and
hold the RESET button for 3 seconds; the speaker will
make a sound.
Mounting the camera unit: g. 2c
1. Mount the camera unit onto the holder using screws.
2. Do not fully tighten the screw.
Setting the horizontal angle of the camera unit:
g. 2d
1. Set the camera at a horizontal angle of 25° to get the
ideal view.
2. Then tighten the screw.
 Loading...