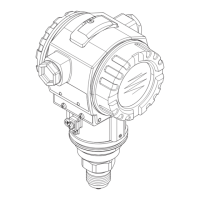
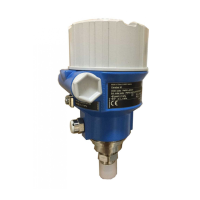
Operation Cerabar S PMP71 with 4 to 20 mA HART
24 Endress+Hauser
5.3 Onsite operation –
onsite display not connected
!
Note!
To operate the device with a HistoROM
®
/M-DAT module, see Page → ä 27,
"HistoROM®/M-DAT (optional)".
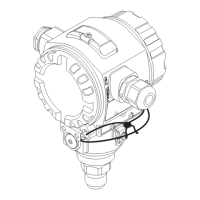
5.3.1 Pressure measuring mode
If no onsite display is connected, the following functions are possible by means of the three keys on
the electronic insert or on the exterior of the device:
• Position adjustment (zero point correction)
• Setting lower-range value and upper-range value
• Device reset → ä 23, "Function of the operating elements – onsite display not connected".
!
Note!
• The operation must be unlocked. → ä 31, "Locking/unlocking operation".
• The device is configured for the "Pressure" measuring mode as standard. You can switch
measuring modes by means of the MEASURING MODE parameter. → ä 34, "Selecting language
and measuring mode".
• The pressure applied must be within the nominal pressure limits of the sensor. See information
on the nameplate.
Carrying out position
adjustment.
1)
1) Please note warning on Page → ä 34, "Commissioning".
Setting lower-range value. Setting upper-range value.
Pressure is present at device. Desired pressure for lower-range
value is present at device.
Desired pressure for upper-range
value is present at device.
↓↓↓
Press "E" key for at least 3 s. Press "–" key for at least 3 s. Press "+" key for at least 3 s.
↓↓↓
Does the LED on the electronic insert
light up briefly?
Does the LED on the electronic insert
light up briefly?
Does the LED on the electronic insert
light up briefly?
Yes No Yes No Yes No
↓↓ ↓↓ ↓↓
Pressure present
for
position
adjustment has
been accepted.
Pressure present
for position
adjustment has
not been
accepted.
Observe the input
limits.
Pressure present
for
lower-range
value has been
accepted.
Pressure present
for
lower-range
value has not
been accepted.
Observe the input
limits.
Pressure present
for
upper-range
value has been
accepted.
Pressure present
for
upper-range
value has not
been accepted.
Observe the input
limits.
 Loading...