TMT84 Accessories
Endress+Hauser 35
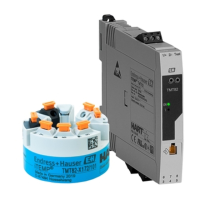
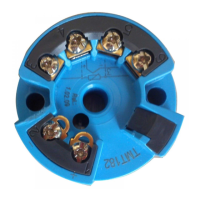
8 Accessories
Various accessories, which can be ordered separately from your supplier, are available for the device.
Detailed information on the order code in question can be obtained from your service organization.
When ordering accessories, please specify the serial number of the device!
9 Troubleshooting
9.1 Troubleshooting instructions
Always start troubleshooting with the checklists below if faults occur after start up or during
operation. This takes you directly (via various queries) to the cause of the problem and the
appropriate remedial measures.
!
Note!
Due to its design, the device cannot be repaired. However, it is possible to send the device in for
examination. Please refer to ä 44 in this situation.
Type Order number
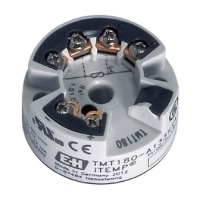
Field housing TAF10 51005883
DIN rail clip according to IEC 60715 for head transmitter mounting 51000856
Standard - DIN mounting set (2 screws + springs, 4 securing disks and 1 display connector
cover)
71044061
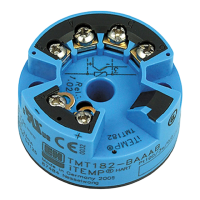
US - M4 mounting screws (2 screws M4 and 1 display connector cover) 71044062
Fieldbus connector (PROFIBUS
®
PA) Threaded connection
•M20x1,5
•NPT ½"
•M20x1,5
Cable connecting thread
•M12
•M12
•7/8"
71090687
71005802
71089147
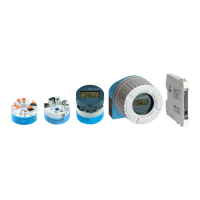
Display TID10 for Endress+Hauser head transmitters iTEMP® TMT8x,
pluggable; dot-matrix display; DIP switch for hardware setting
TID10-**
Check display (optional, attachable LC display)
No display visible 1. Check the supply voltage at the head transmitter Terminals + and -
2. Check whether the retainers and the connection of the display module are
correctly seated on the head transmitter, ä 11
3. If available, test the display module with other suitable E+H head transmitters
4. Display module defective Replace module
5. Head transmitter defective Replace transmitter
Onsite error messages on the display
Chap. 9.3
Faulty connection to the fieldbus host system
No connection can be made between the fieldbus host system and the device.
Check the following points:
Fieldbus connection Check the data cable
Fieldbus connector (optional) Check pin assignment/wiring, ä 18
Fieldbus voltage Check that a min. bus voltage of 9 V DC is present at the +/- terminals. Permitted
range: 9 to 32 V DC
Network structure Check permissible fieldbus length and number of spurs ä 15

 Loading...