3 Installation PROline Promag 10
22 Endress+Hauser
3.3 Installation instructions
3.3.1 Installing the Promag W sensor
!
Note!
Bolts, nuts, seals, etc. are not included in the scope of supply and must be supplied by
the customer.
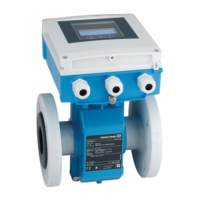
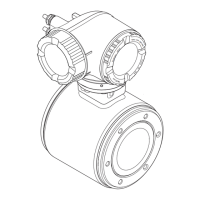
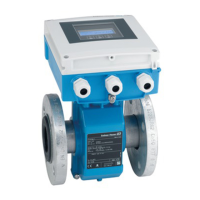
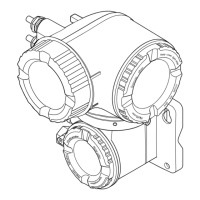
The sensor is designed for installation between the two piping flanges.
• Observe in any case the necessary screw tightening torques on Page 24 ff.
• The mounting of additional ground disks is described on Page 23.
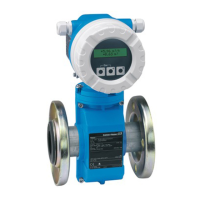
Fig. 16: Installing the Promag W sensor
Seals
Comply with the following instructions when installing seals:
• Hard rubber lining → additional seals are always necessary!
• Polyurethane lining → additional seals are recommended
• For DIN flanges, use only seals according to DIN 2690.
• Make sure that the seals do not protrude into the piping cross-section.
"
Caution!
Risk of short-circuit! Do not use electrically conductive sealing compound such as
graphite! An electrically conductive layer could form on the inside of the measuring tube
and short-circuit the measuring signal.
Ground cable (DN 25...600)
If necessary, special ground cables for potential equalisation can be ordered as
accessories for potential equalisation (see Page 64). Detailed mounting instructions →
Page 44 ff.
F06-10Fxxxxx-17-05-xx-xx-000
 Loading...
