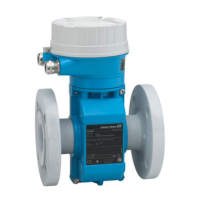
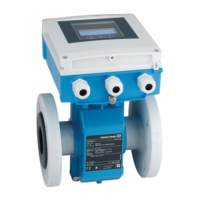
PROline Promag 10 3 Installation
Endress+Hauser 23
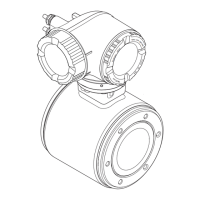
Assembly with ground disks (DN 25...300)
Depending on the application, e.g. with lined or ungrounded pipes (see Page 43 ff.), it
may be necessary to mount ground disks between the sensor and the pipe flange for
potential equalisation. Ground disks can be ordered separately as an accessory from
E+H (see Page 64).
"
Caution!
• In this case, when using ground disks (including seals) the total fitting length
increases! Dimensions are found in the Technical Information on Promag 10 (separate
documents), see Page 91
• Hard rubber lining → Additional seals must be mounted between the sensor and
ground disk as well as between the ground disk and the pipe flange.
• Polyurethane lining → Additional seals must be mounted between the ground disk
and the pipe flange.
1. Place the ground disk and additional seal(s) between the instrument and the pipe
flange (see Fig. 17).
2. Insert the bolts through the flange holes. Tighten the nuts so that they are still loose.
3. Now rotate the ground disk as shown in Fig. 17 until the handle strikes the bolts.
This will centre the ground disk automatically.
4. Now tighten the bolts to the required torque (see Page 24 ff.).
5. Connect the ground disk to ground → Page 45.
Fig. 17: Assembly ground disks (Promag W, DN 25…300)
F06-10Fxxxxx-17-05-xx-xx-001

 Loading...