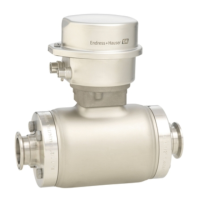
PROline Promag 53 3 Installation
Endress+Hauser 43
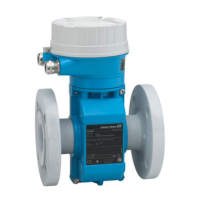
3.3.6 Installing the wall-mount transmitter housing
There are various ways of installing the wall-mount transmitter housing:
• Mounted directly on the wall
• Installation in control panel (with separate mounting kit, accessories → Page 97)
• Pipe mounting (with separate mounting kit, accessories → Page 97)
"
Caution:
• Make sure that ambient temperature does not exceed the permissible range
(-4 to +140 °F / –20 to +60 °C). Install the device at a shady location. Avoid direct sun-
light.
• Always install the wall-mount housing in such a way that the conduit entries are point-
ing down.
Direct wall mounting
1. Drill the holes as illustrated in Fig. 25.
2. Remove the cover of the connection compartment (a).
3. Push the two securing screws (b) through the appropriate bores (c) in the housing.
– Securing screws (M6): max. Ø 0.25" (6.5 mm)
– Screw head: max. Ø 0.41" (10.5 mm)
4. Secure the transmitter housing to the wall as indicated.
5. Screw the cover of the connection compartment (a) firmly onto the housing.
Fig. 25: Mounted directly on the wall
F06-xxxxxxxx-17-03-xx-xx-000
Dimensions in inches (mm)

 Loading...