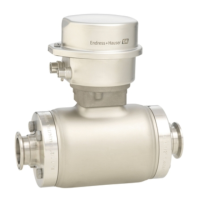
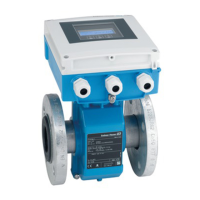
Proline Promag L 400 PROFIBUS DP Installation
Endress+Hauser 23
6.1.3 Special mounting instructions
Display protection
‣
To ensure that the optional display protection can be easily opened, maintain the
following minimum head clearance: 350 mm (13.8 in)
6.2 Mounting the measuring device
6.2.1 Required tools
For transmitter
• Torque wrench
• For wall mounting:
Open-ended wrench for hexagonal screw max. M5
• For pipe mounting:
– Open-ended wrench AF 8
– Phillips head screwdriver PH 2
• For turning the transmitter housing (compact version):
– Phillips head screwdriver PH 2
– Torx screwdriver TX 20
– Open-ended wrench AF 7
For sensor
For flanges and other process connections:
• Screws, nuts, seals etc. are not included in the scope of supply and must be provided by
the customer.
• Appropriate mounting tools
6.2.2 Preparing the measuring device
1. Remove all remaining transport packaging.
2. Remove any protective covers or protective caps present from the sensor.
3. Remove stick-on label on the electronics compartment cover.
6.2.3 Mounting the sensor
L
WARNING
Danger due to improper process sealing!
‣
Ensure that the inside diameters of the gaskets are greater than or equal to that of the
process connections and piping.
‣
Ensure that the gaskets are clean and undamaged.
‣
Install the gaskets correctly.
1. Ensure that the direction of the arrow on the sensor matches the flow direction of
the medium.
2. To ensure compliance with device specifications, install the measuring device
between the pipe flanges in a way that it is centered in the measurement section.
3. If using ground disks, comply with the Installation Instructions provided.
4. Observe required screw tightening torques (→ 24).
5. Install the measuring device or turn the transmitter housing so that the cable entries
do not point upwards.
 Loading...

