3.9 Turning the transmitter housing and local display
The transmitter housing and local display can be rotated in steps of 90°. This enables
the unit to be adapted to different mounting positions in the piping and so simplifying
reading and operation.
Warning!
For instruments with EEx d/de or FM/CSA Cl. I Div. 1 approval, the procedure for
rotating the instrument is different than that described here and is given in the
Ex-supplement to this documentation.
Warning!
30
o
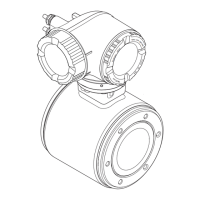
Turning the transmitter housing
1. Loosen the two fixing screws of the transmitter
bayonet catch (approx. two turns)
2. Turn the bayonet catch of the transmitter as far
as the screw slits (approx. 15 mm).
3. Carefully lift the transmitter housing to the stop.
Caution!
Do not damage the cable between
the transmitter and sensor!
4. Turn the transmitter housing to the desired
position.
5. Lower the housing and engage the bayonet
catch.
6. Retighten the two screws.
ba009y22
1
2
3
4
6
5
Fig. 16
Turning the transmitter housing
ENDRESS+HAUSER
PROMAG33
Turning the local display
Warning!
Danger from electric shock! Switch off the
power supply before opening the instrument.
1. Loosen the Allen screw of the safety grip
(3 mm Allen key).
2. Unscrew the cover of the electronics area
of the transmitter housing.
3. Unscrew the two Phillips screws of the front
panel display.
4. Turn the display module to the required position.
5. Securely tighten the Phillips screws.
6. Replace and screw down securely the cover of
the electronics area on to the transmitter housing.
7. Securely tighten the Allen screw of the safety grip.
1
2
3
5
6
4
7
ba009y23
Fig. 17
Turning the local display
Warning!
Caution!
Promag 33 3 Mounting and Installation
Endress+Hauser 19

 Loading...