19
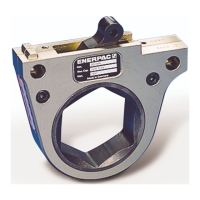
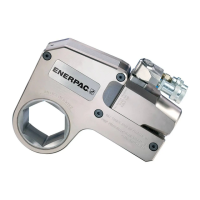
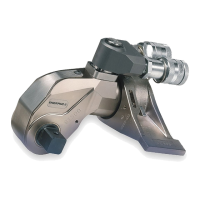
RSL Torque Wrench
5.3 Torque Wrench Drive Assembly, Testing,
and Disassembly
• Order all replacement fasteners from Enerpac.
• Use Enerpac hydraulic oil.
• Assembly notes for torque wrench drive:
a. Before assembly:
i. Clean all components.
ii. Lubricate all interior surfaces with oil,
especially seals.
iii. Replace seals and wear rings as needed.
b. For RSL1500, RSL3000, RSL5000,
RSL8000, and RSL11000, torque Zero
Leak Plug to 80 ±4 in*lb [9 ±.5 N*m].
Refer to RPS for location.
c. See Table 5.3-1 for spanner wrenches
or front cap torque fixtures.
d. See Section 4.6 for purging air from
torque wrench drive and hoses.
5.3.1 Disassemble: Model RSL1500, RSL3000,
RSL5000, RSL8000, RSL11000 and
RSL19000 - With Front Cap
a. Position torque wrench drive at mid
stroke.
b. Install mating QD’s to QD’s on torque
wrench drive.
c. Remove pin joining Retractor with Piston
(or 10-24 x 1.5 socket head cap screw
on RSL8000).
d. Remove push block and retractor.
e. Use spanner wrench to remove front
cap.
f. Pull piston straight out. Do not scratch
components.
5.3.2 Assemble: Model RSL1500, RSL3000,
RSL5000, RSL8000, RSL11000 and
RSL19000 - With Front Cap
a. Install seals and wear band into front
cap and piston as needed.
b. Slide front cap on rod until it contacts
piston.
c. Press piston into torque wrench drive
bore until front cap contacts internal
threads. Do not press on spherical
radius surfaces.
d. Use spanner wrench to tightening front
cap until firmly seated. Torque per
Table 5.3-1.
e. Reinstall retractor, bronze block, and
retractor pin (RSL8000 has a socket
head cap screw, which is tightened to
40 in*lb and use Loctite 243).
5.3.3 Test Torque Wrench Drive Assembly: All
Models
a. Follow all applicable safety rules in
Section 2.
b. Connect torque wrench drive to console
with hoses.
c. Place torque wrench drive in protective
container.
d. Advance and retract piston three times.
e. Make sure piston moves freely.
f. Advance piston and hold at 10,000 psi
[690 bar] for 5 seconds.
g. Repeat 5.3.3. f. two more times.
h. Follow proper lockout and tag policy for
console and tool.
I. Check torque wrench drive, hoses,
fittings, etc. for leaks.
i. No leaks: Disconnect hoses.
ii. Leaks:
1. Fix leaks
2. Repeat test. Start at 5.3.3.a.
5.3.4 Disassemble: Model RSL28000
a. Position torque wrench drive at mid
stroke.
b. Install mating QD’s to QD on torque
wrench drive.
c. Remove pin joining retractor with piston.
d. Remove end cap bolts.
e. Remove end cap.
f. Pour out hydraulic oil.
g. Remove piston by pressing on its
end (Do not press on spherical radius
surfaces).
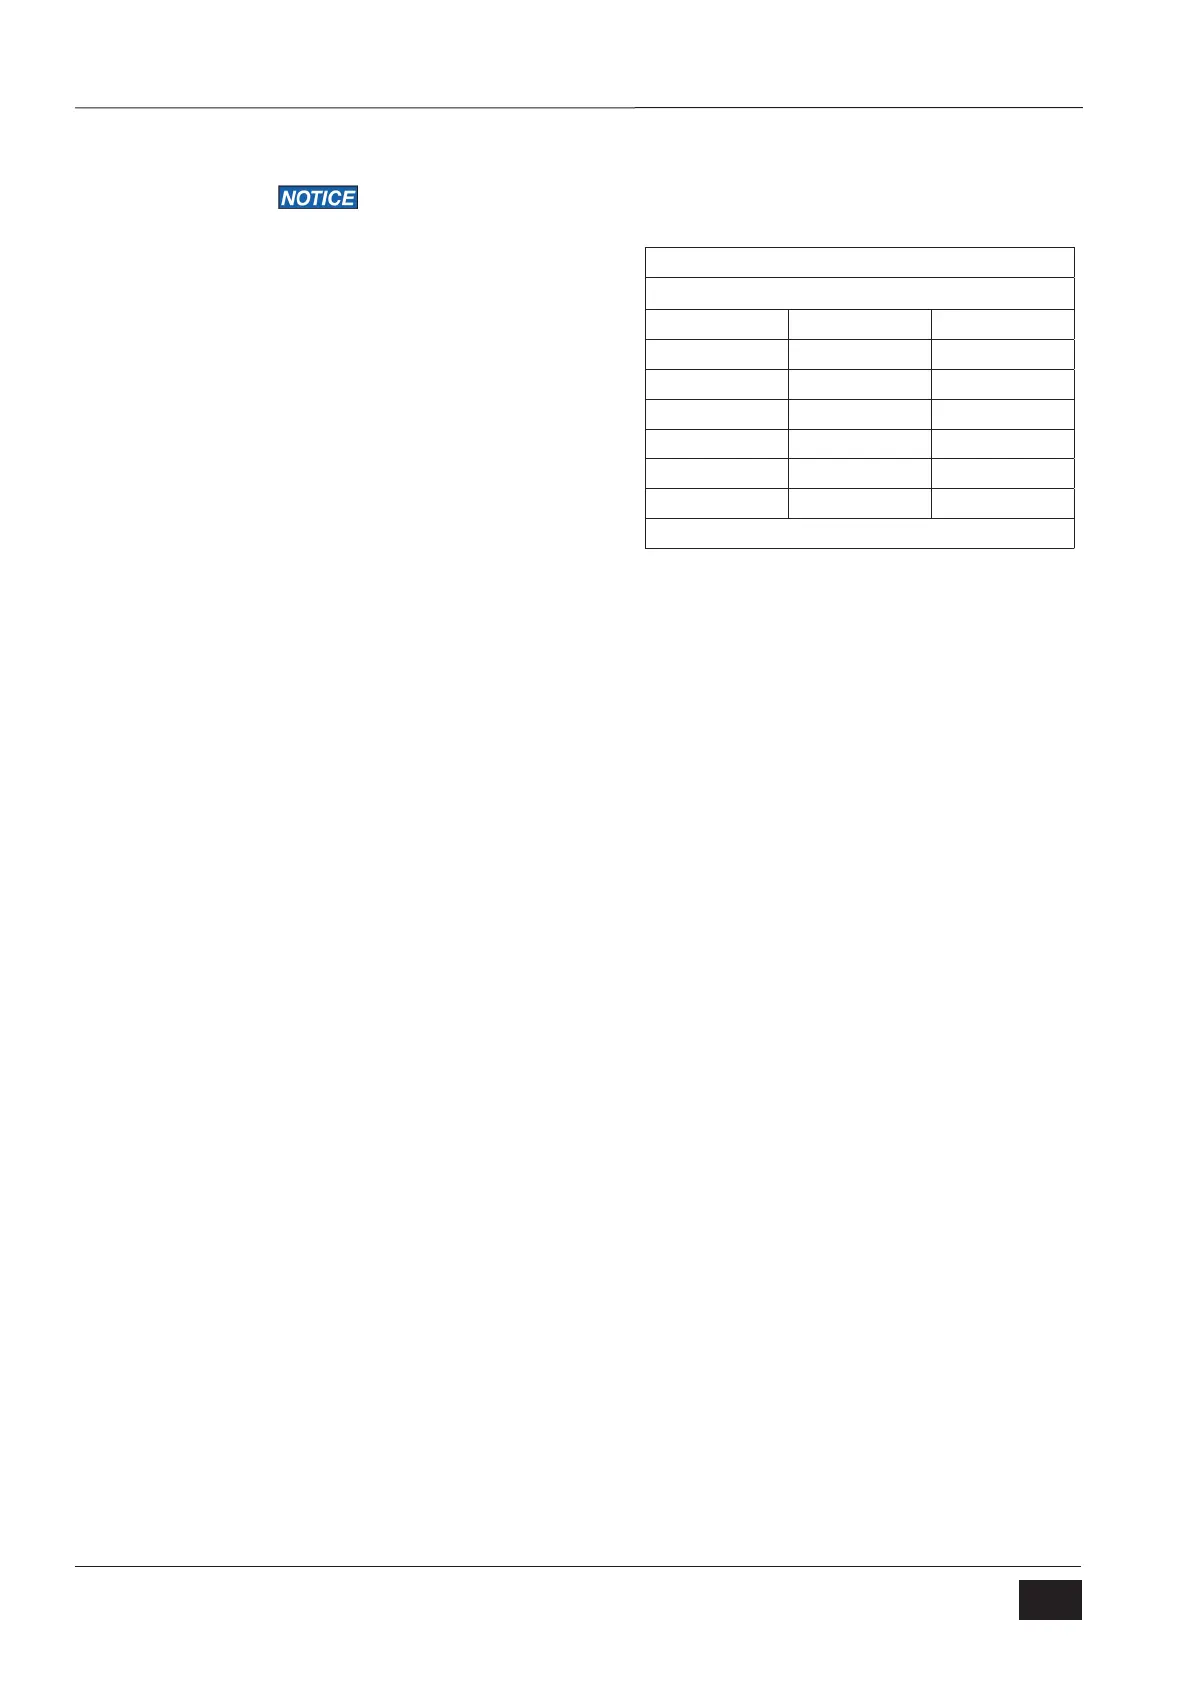
TABLE 5.3-1
FRONT CAP TORQUE
MODEL Ft.lbs Nm
RSL1500 30 40.7
RSL3000 60 81.4
RSL5000 75 101.7
RSL8000 75 101.7
RSL11000 75 101.7
RSL19000 80 108.5
Notes: Use lubricant (light oil).
 Loading...