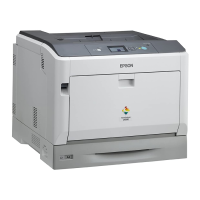
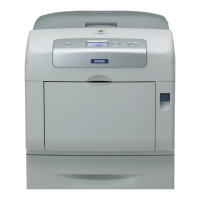
8. Insert the laser lens cleaning tool into the photoconductor unit opening, pull it out, and then
repeat this back and forth movement 2 or 3 times.
9. Install the removed toner cartridge, photoconductor unit and waste toner bottle.
Note:
For details on installing the toner cartridge, photoconductor unit or waste toner bottle, refer to
“Replacing a Toner Cartridge” on page 83 or “Replacing a Photoconductor Unit” on page 87.
10. Close the front cover.
AcuLaser C3900 Series User’s Guide
Maintaining the Printer 112

 Loading...


