42
3. Press the arrow buttons to select the Settings > Installation > Projection setting and press Enter.
4. Select the projection mode you want to use and press Enter.
5. Press the menu button to exit the menu or the return button to return to the previous screen.
Parent topic: Projection Modes
Related references
Projector Feature Settings - Settings Menu
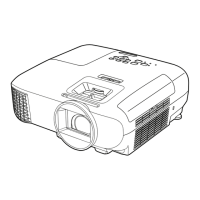
Adjusting the Image Height
If you are projecting from a table or other flat surface and the image is too high or low, you can adjust the
image height using the projector's adjustable foot.
1. Turn on the projector and display an image.
2. Press and hold the foot release lever to extend or retract the front adjustable foot.
Note: You can adjust the position up to 12°.
3. Release the lever to lock the foot when the image is at the position you want.
If the projected image is unevenly rectangular, you need to adjust the image shape.
Parent topic: Using Basic Projector Features
Related references
Projector Feature Settings - Settings Menu
Related tasks
Correcting Image Shape with H/V Keystone
Correcting Image Shape with Quick Corner
 Loading...