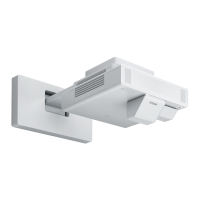
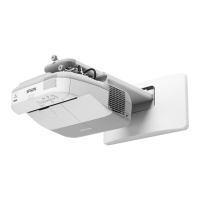
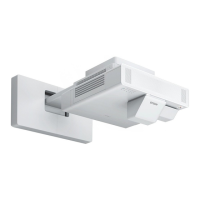
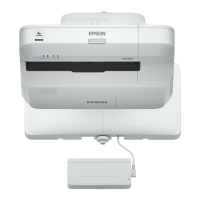
Installation Guide
65
f
Attach the two markers that you removed from the Touch Unit to the marker positions
(
) ( ) on the projection screen
Match the positions so that the crosses ( ) for the markers overlap with the points ( ) for the
(
) ( ).
When pointers ( ) ( ) with the same color as the marker positions are displayed on the left and
right of the projection screen, attach the markers to the projection screen.
•
Magnetic screens: Place the bottom of the markers onto the screen.
•
Non-magnetic screens: Use the supplied tape to secure the markers. Attach the tape so that the either end of
marker does not come loose off the screen.
Correct Incorrect
c
Do not place anything other than the markers near the projected image during angle
adjustment. If other objects are on the projected image, angle adjustment may not be
performed correctly.

 Loading...