3-3
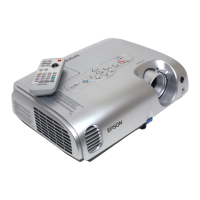
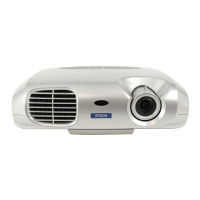
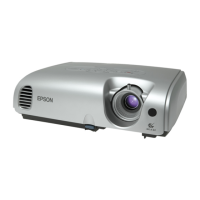
EMP-S4
SEIKO EPSON Revision:B
3.2 Overview
Check the nature of the problem using the following flow diagram, and then proceed to the
corresponding flow chart (on the following pages).
START
Exterior Check
Internal Cable Check
Power Supply On/Off
Image Display and Quality
Audio Output
Control Panel
A/V mute slide
Remote Control
USB Mouse
Other
Check for any external abnormalities, such as a damaged case.
Remove the Upper Case unit and check the cable connectors on the MA Board.
Reconnect any loose cables as required.
Connect the power cord and turn on the power. Check the initial operations until the
NO SIGNAL message appears, and then check the power off operation.
1). After power is turned on, the Power indicator flashes green and projection starts.
2). After about 30 seconds, the operation indicator lights green, and projection starts at
maximum brightness.
Carry out the following three steps.
1). Check and adjust the projector's Front Feet as appropriate for the projection
position and distance.
2). Adjust the image using the Focus Ring.
3). Press the [Auto] button to optimize the display.
Display input/output and image quality. Use the [Source] and [Enter] buttons to
change input.
Check the quality of input and output signals from Computer/Component Video,
S-Video and CVBS sources.
Check that there are audio inputs from Computer/Component Video, S-Video and
CVBS. Also check the operation of the [AV Mute] button.
Test the operation of each button on the control panel.
Slide the cover and check if it slides properly. Close the cover during the projection and
check if the audio and image turn off.
Test the operation of each button on the remote control.
USB mouse operations using USB interface.
Examine the unit for abnormal noise, image problems, unusual odors, and smoke.

 Loading...