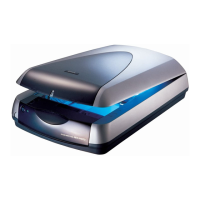
Perfection 4870 Photo Revision A
DISASSEMBLY/ASSEMBLY Disassembly Procedure 43
4.2.3 Removal of Panel Board
1. Remove of Upper Housing.
(Refer to 4.2.2 Removal of Upper Housing )
2. Remove the two screws (C.B.P M3x8) which secure the Panel Board and then remove
it.
Figure 4-10. Removal of Panel Board
Route the SW Connector Cable by passing it through the
notches of the Upper Housing as shown in Figure 4-10.
After installing the Function Button on the Panel Board in the
orientation shown in Figure 4-11, install the Panel Board on the
Upper Housing.
Figure 4-11. Installation of Function Button
Notches
SW Connector Cable
Panel Board
C.B.P M3x8
(7±1 kgfcm)
Function Button
 Loading...