Printing Options 19
❏ If your camera doesn’t support PRINT Image
Matching, you can use PhotoEnhance to make
adjustments for the type of environment in which
your photos were taken.
Note:
These settings affect only your printed pictures. They do not
change your original image files.
1. Press the Mode button to select
q.
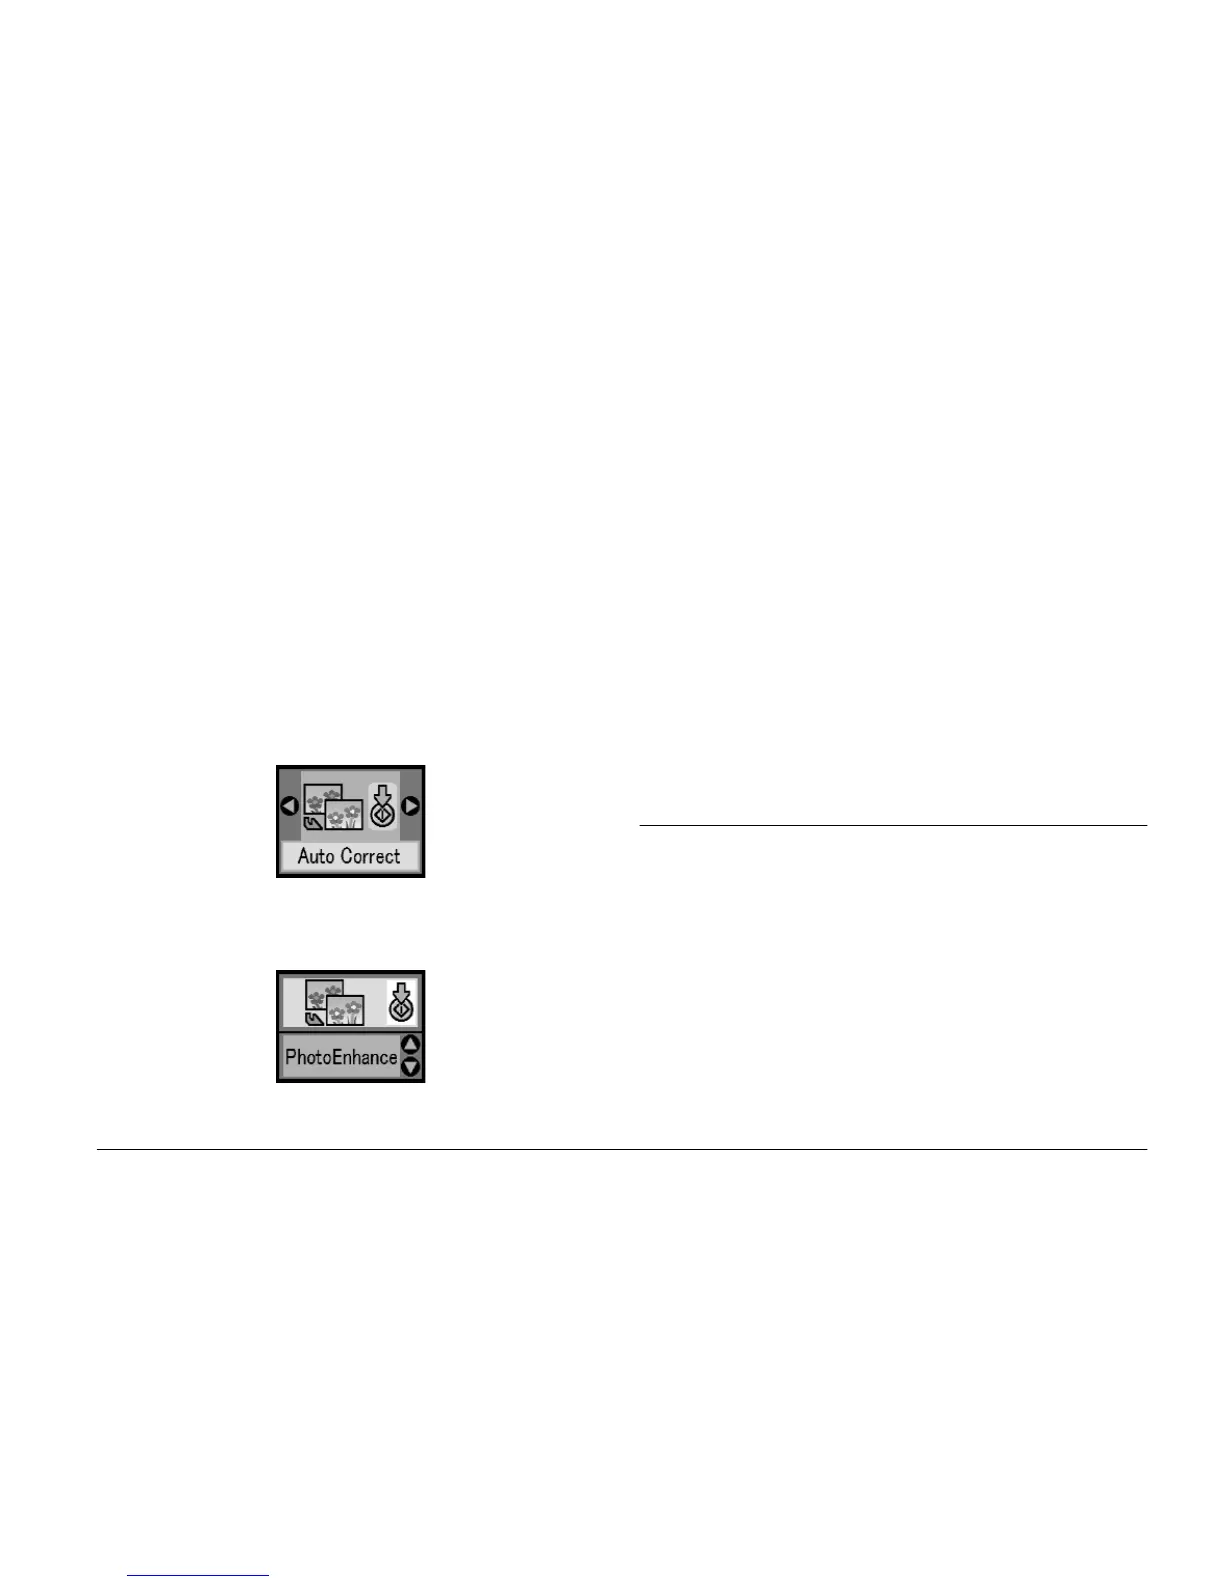
2. Press the l or r button to select Auto Correct,
then press the x Start button.
3. Press the u or d button to select one of the options,
then press the x Start button.
❏ PhotoEnhance - Use this if a print does not look
good; for example, this may correct images that
are too dark, too bright, or backlit.
❏ OFF - Prints photos as they are or bypasses P.I.M.
data.
❏ P.I.M. - PictureMate chooses this setting
automatically if it detects P.I.M. information
saved in your camera’s digital files. This
information helps ensure an accurate image
reproduction.
4. See “Basic Photo Printing” on page 16 and print
using the mode you want.
Adding the Date or Time
You can add the date and/or time your photo was
originally taken to the bottom right corner of your
print.
1. Press the Mode button to select
q.
 Loading...