f
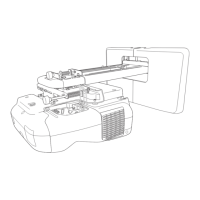
According to the projection area, select Horizontal Corner or
Vertical Corner, and then press the [
] button.
When the surfaces line up horizontally:
Select Horizontal Corner.
When the surfaces line up vertically:
Select Vertical Corner.
From here on, steps are explained using Horizontal Corner as an
example.
g
Press the [Esc] button to display the screen from step 5. Select
Correct Shape, and then press the [
] button.
h
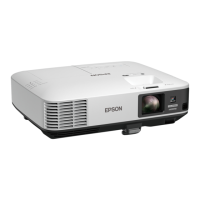
Adjust the position of the projector and the lens shift so that the
line in the center of the screen matches the corner (the point
where the two surfaces meet).
s "Adjusting the Position of the Projected Image (Lens Shift)"
p.33
a
Each time you press the [ ] button, you can show or hide the
image and the grid.
Adjusting Projected Images
70
 Loading...