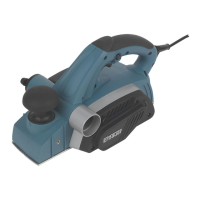
8. USING THE DUST COLLECTION BAG(See
Fig.9)
Your planer is equipped with a dust bag for collection
of wood chips in the work area.
Make sure the zipper on the bag is fully closed. To t
the dust bag, simply insert the tube end of the bag
into the dust extraction outlet. Then switch on and
start planing.
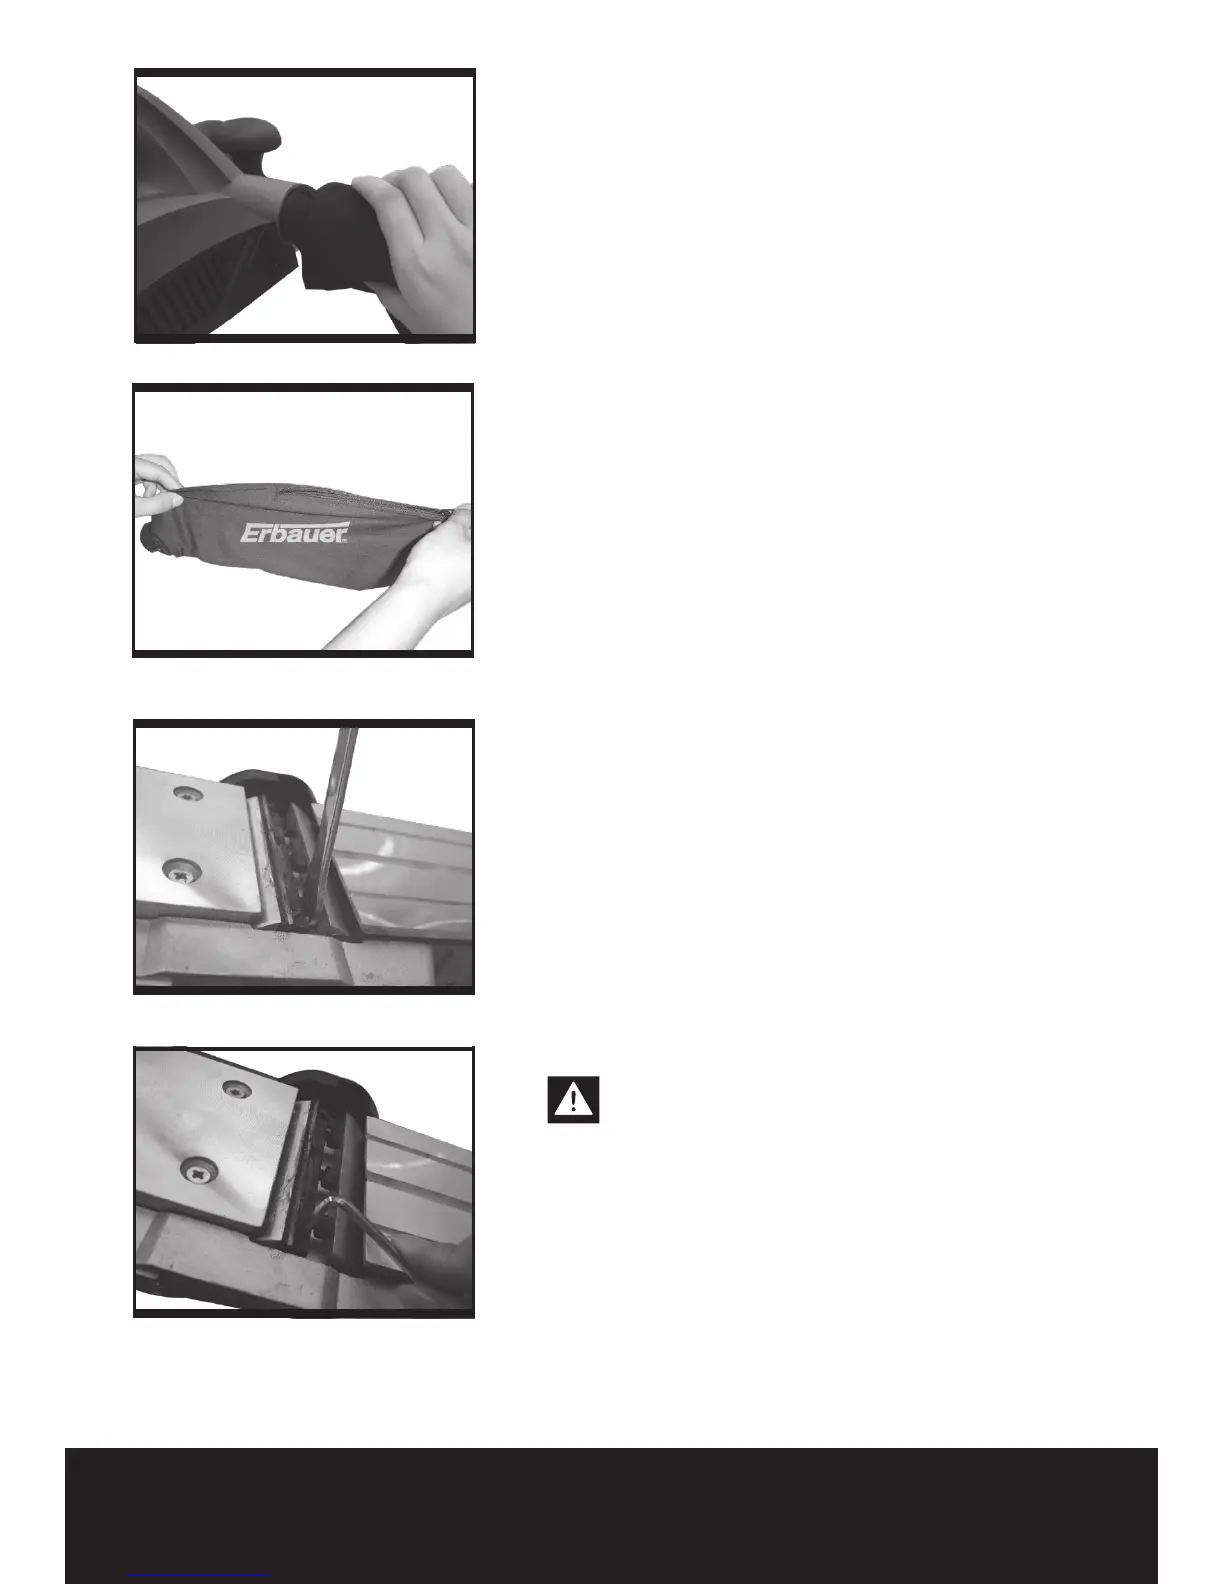
CLEANING DUST EXHAUST OUTLET AND
EMPTYING THE DUST BAG (See Fig.10)
After using your planer for an extended period of
time or when planing wet green timber, chips may
build-up in the dust exhaust outlet and require
clearing. Chip build-up restricts air ow and causes
the motor to overheat. Turn off the planer and
remove the dust bag from the dust exhaust outlet.
Clean the chip and dust exhaust outlet of your
planer with a small piece of wood. Do not use your
hands or ngers. Unzip the dust bag and empty all
chips from it. Ensure collar is free from debris.
We recommend emptying the dust bag every 3-6
minutes.
Using the dust extraction adaptor
Your planer is equipped with a dust extraction
adaptor(13), which is designed for collecting dust
task. Connect the dust extraction adaptor into the
hose of a vacuum cleaner. First please turn on the
vacuum cleaner, then turn on the planer. If you stop
planing, rst turn off the planer, then turn off your
vacuum cleaner.
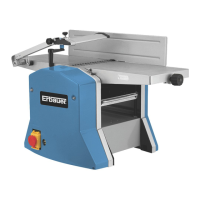
9. BLADE REPLACEMENT (SEE FIG.11, 12)
Note: The blades in your planer are replaceable.
Always replace blades in pairs. Do not attempt to
sharpen blades. If the blades become dull, replace
them. Blades are sharp, use extreme caution when
replacing blades.
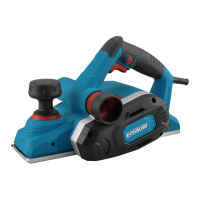
Warning: Remove power cord from the
socket before carrying out any adjustments
or changing blades. Always put on gloves when
replacing blades.
Using the blade spanner provided loosen the three
installation screws approximately 1/2 rotation
anticlockwise.
Note: Do not over loosen the screws. If screws are
too loose, alignment of the new blade will not be
accurate.
Before removing old blades, take notice of the