Do you have a question about the Eswood B42GN and is the answer not in the manual?
Installation must be carried out by qualified persons according to local regulations.
ESWOOD AUSTRALIA warrants products against defects in material and workmanship under normal use.
Ensure water quality prevents calcium buildup; failure to do so voids warranty.
Warranty labor is free during normal hours; outside hours incur charges.
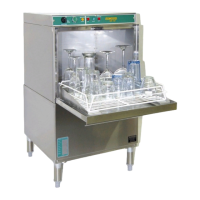
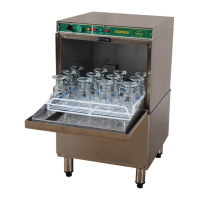
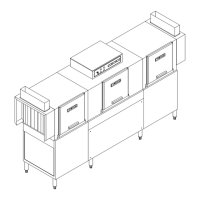
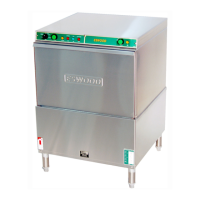
Details net weight, hourly capacity, cycle times, dwell/rinse, and standard equipment.
Specifications for the wash pump, tank capacity, heater, and operating temperature.
Details rinse tank capacity, heater, temperature, and water consumption per cycle.
Specifies electrical input requirements and hot water input parameters.
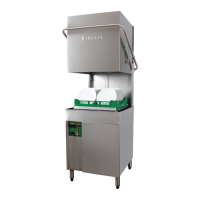
Position the machine and level it using adjustable feet.
Fit a 1 1/2" B.S.P. waste trap to the underside of the tank outlet.
Connect hot & cold water supply to 3/4" B.S.P. valves at specified pressure.
Ensure the rotary switch is OFF before connecting the 3-pin plug to a 15 Amp outlet.
Ensure plumbing allows machine removal for servicing and complies with local codes.
Turn hot & cold water and power on with the rotary switch in the 'OFF' position.
Ensure overflow tube and filter are correctly placed; use automatic detergent injector.
Do not run the injector without detergent, as it voids the warranty.
Turn switch to 'FILL'; fill light illuminates. Water fills wash tank, covering heating elements.
Check wash tank is full, place strainer trays, and turn toggle switch to 'Run'.
Select 'HOT' or 'Hot & Cold' cycle; machine starts when rinse temp reaches 82°C.
Check under the machine for leaks and ensure wash arms turn freely.
Turn switch to 'OFF', drain tank, remove trays, and leave door open to air.
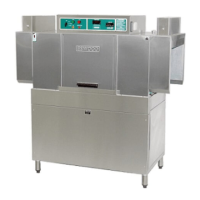
Details the function of the rotary switch, start button, and indicator lights.
Check detergent, filter, overflow tube, and water level before starting.
Choose cycle based on soiling, load glasses, close door, and start; monitor rinse temperature.
Open door, remove clean rack, and prepare for next wash.
Turn off machine, drain tank, clean trays and pump filter.
Check wash arms/jets for debris; clean exterior with damp sponge.
Verify for leaks, ensure arm rotation, and allow machine to air.
Check main isolating switch and fuses; replace burnt-out power light if needed.
Ensure rinse temperature is 82°C, door is closed, and door switch operates.
Check water valve, overflow pipe, solenoid valve, and pressure switch operation.
Check detergent feeder, wash arm jets, rack loading, wash tank temp, and pump.
Check water pressure, rinse jets, solenoid valve, and line strainer.
Ensure incoming water is at least 65°C; check rinse tank thermostat and elements.
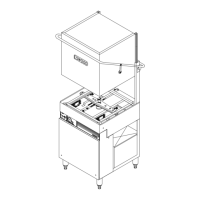
An exploded view diagram illustrating the main components of the dishwasher.
List of spare parts with their corresponding codes and descriptions.
Diagram showing detailed component parts with their associated part numbers.
An extended list of spare parts including codes, descriptions, and specifications.
Details on various components including bushes, arms, timers, and switches.
Diagram illustrating the electrical connections and component layout of the dishwasher.
Table showing the function of rotary switch contacts across different cycle selections.
Toll-free number for inquiries and 24/7 service backup.
| Brand | Eswood |
|---|---|
| Model | B42GN |
| Category | Dishwasher |
| Language | English |