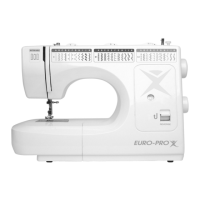
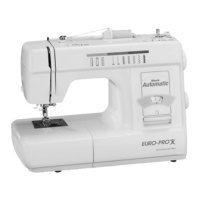
Do you have a question about the Euro-Pro 605D and is the answer not in the manual?
Safety instructions for reducing electric shock risk.
Safety instructions for reducing burn, fire, or injury risks.
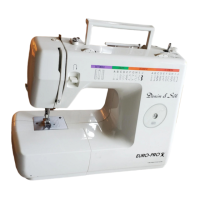
List of standard accessories included with the sewing machine.
List of optional accessories available for purchase separately.
Guide on how to replace the sewing machine needle, including proper orientation.
How to check and adjust the lower thread tension using the bobbin case screw.
How to adjust the upper thread tension using the dial for balanced stitching.
How to change sewing direction during operation, using the needle as a pivot.
Procedure for safely removing the finished work from under the presser foot.
How to adjust stitch width for zigzag and twin needle sewing.
How stitch length affects zigzag stitch density and appearance.
How to achieve a dense satin stitch for buttonholes and decorative elements.
Tips for sewing with very fine fabrics using paper as a backing.
Using overlock stitches for stretchy fabrics like knits and jerseys.
Using standard overlock stitches for fine knits and edges.
Using double overlock stitches for decorative seams and finishing.
Steps to prepare the machine and fabric for sewing buttonholes.
How to measure and mark buttonholes on fabric before sewing.
Advice for achieving better results when sewing buttonholes, including tension and fabric handling.
How to sew elastic onto fabric using the 3-step zigzag stitch for stretch.
Using the elastic stitch to join fabric pieces, especially effective for knits.
How to set up the machine for a triple straight stitch for reinforced seams.
How to set up the machine for a triple zigzag stitch for durable seams on firm fabrics.
Creating decorative shell hems on sheer, fine, and stretch fabrics.
Using rampart stitch for flat seams, elastic, and visible hems on various fabrics.
Using bridging stitch for decorative seams, joining fabric, and creating fagotted effects.
Steps for preparing fabric and machine for monogramming and embroidery.
Steps to remove the needle plate for cleaning or maintenance.
How to clean the feed dog area using the provided brush.
Procedure for cleaning and lubricating the hook and shuttle race for smooth operation.
| Brand | Euro-Pro |
|---|---|
| Model | 605D |
| Category | Sewing Machine |
| Language | English |