4
English
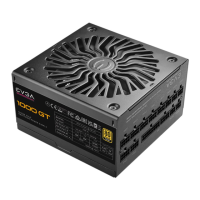
1000W / 1300W GT
Power Supply User Manual
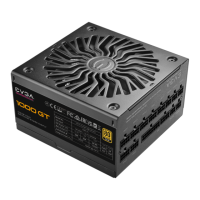
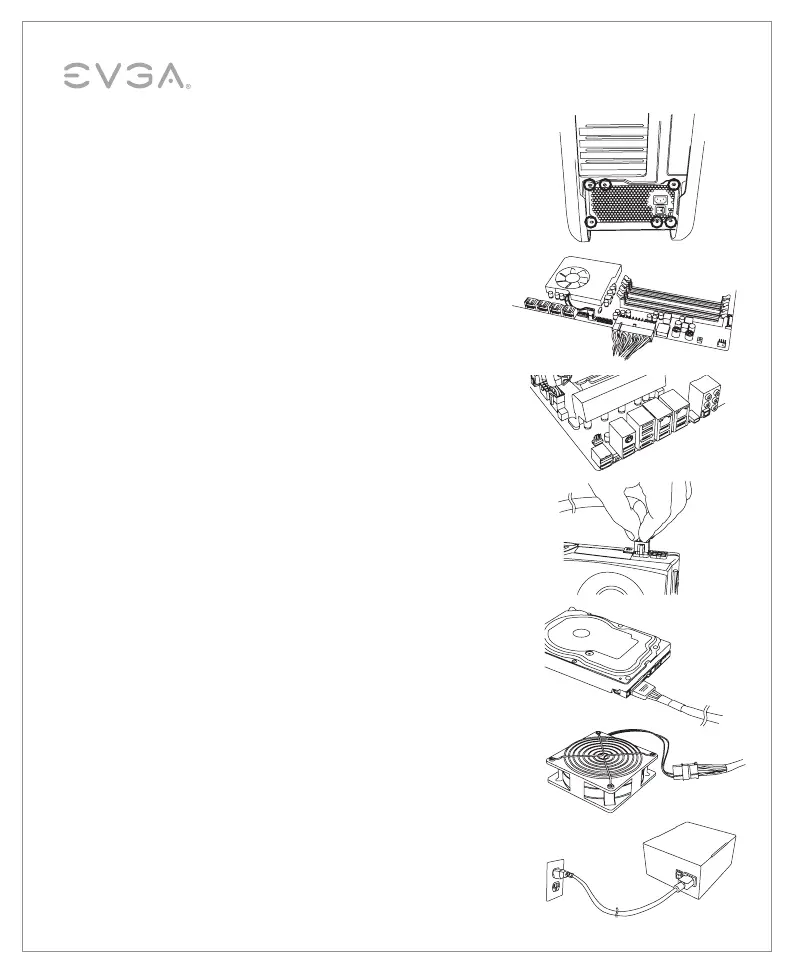
3. Use the screws provided with your case to install the power supply
into your computer. NOTE: It is recommended to install the power
supply with the fan facing down. However, if your case places the
power supply at the bottom of the case and there are no ventilation
holes available, it may be best to install the power supply with the
fan facing up for greater efficiency and reliability.
4. Connect the 24-Pin ATX cable to the PSU and the motherboard.
5. Connect the 4+4-Pin EPS12V cable to the motherboard.
(Optional) – If you plan on extreme overclocking
and your motherboard
supports additional 8-Pin or 4-Pin CPU power connectors,connect the
second 4+4-Pin EPS12V cable. This is only needed for heavy overclocking
or for Dual CPU motherboards.
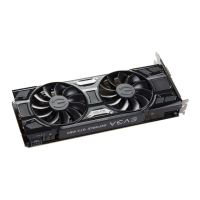
6. Connect the 6/6+2-Pin PCI-E cables to your graphics card(s).
NOTE: Do not attempt to plug an 8-Pin PCI-E cable into a 6-Pin
connector without first detaching the two extra pins.
7. Connect SATA power cables to all data drives or optical drives
(hard drives, solid state drives, optical drives).
8. Connect the peripheral “Molex” 4-Pin connectors for fans, pumps,
legacy components and other devices/adapters.
9. Connect the AC power cord to your power supply and to the wall.
Check all connections to assure a solid connection and turn the
power switch on the power supply to the ON position.
 Loading...