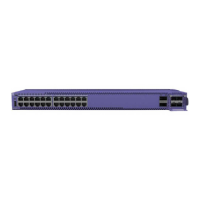
Installing and Removing Summit X450a Series DC-Powered Switches
Extreme Networks Consolidated ExtremeXOS Hardware Installation Guide
287
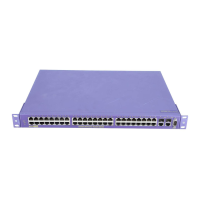
An optional redundant power supply, the EPS-150DC, is available for use with the Summit X450a-24tDC switch,
Summit X450a-24xDC switch, and Summit X450a-48tDC switch. When one of these Summit switches is used with
the EPS-150DC, the power supplies (internal and redundant) are fully fault tolerant and load-sharing. If one power
supply fails, the other power supply will provide sufficient power to operate the switch. Refer to “EPS-150DC
External Power Module (with EPS-T2)” on page 321 for further details.
Connecting the Internal DC Power Supply to the DC Source
Voltage
Before you connect the switch to a power source, complete the physical installation of the switch in the
equipment rack, as described in “Rack-Mounting a Summit Switch” on page 285.
If you are installing a Summit X450a-48tDC switch, you must ground the chassis before connecting the
switch to the DC source voltage (see “Grounding the Summit X450a-48tDC Switch” below). If you are
not installing a Summit X450a-48tDC switch, go to “Connecting the DC Wiring Harness to the DC
Source Voltage” on page 288.
Grounding the Summit X450a-48tDC Switch
Before you connect the power input cable to the Summit X450a-48tDC switch, you must ground the
chassis, following the instructions in this section.
Gather the following materials to ground the Summit X450a-48tDC switch:
● Phillips screw with captive lock washer (provided)
● 14 AWG stranded copper wire cable with vinyl-insulated ring terminals attached at each end
(provided)
● Phillips screwdriver appropriate to the provided screw
● Additional hardware appropriate to the earth ground connection at your site
Be sure to connect the chassis ground wire before you connect any power cables.

 Loading...
