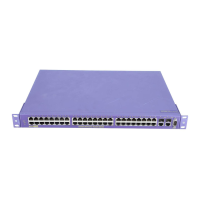
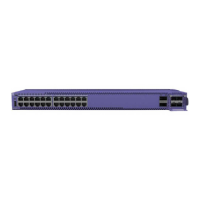
EPS-600LS External Power Module
Extreme Networks Consolidated ExtremeXOS Hardware Installation Guide
331
4 Insert the screws and fully tighten with a screwdriver (see Figure 232).
Figure 232: Attaching the mounting bracket
5 Repeat steps 3 and 4 for the other side of the EPS-C.
6 Mount the EPS-C into a 19-inch rack.
The EPS-C is intended for use with a Summit X450e-48p or X250e-48p switch only. You can install
the EPS-C above or below the Summit switch (see Figure 233).
Figure 233: Installing the EPS-C into a Rack System
7 Connect the keyed-end of the redundant power cord to the EPS-C (see Figure 234). Verify that the
side of the connector marked TOP is facing up. The key is a plastic tab on the cable connector
housing that fits into the chassis to ensure correct alignment of the connector.
8 Connect the other end of the redundant power cord to the Summit X450e-48p or X250e-48p switch
(see Figure 234). Be sure that the side of the connector marked TOP is facing up.
E
P
S
-C
EPS-C_01
Rack Mount Bracket
EPS-C
ESP-C_02
EPS-C
PSU1
DC good
AC good
PSU2 PSU3
STACK NO.
Stack
10G
MGMT
FAN
PSU-1
PSU-E
Solid ON = Link
Blinking = Activity
2
1
1
2
1
2
4
3
6
5
8
7
10
9
12
11
14
13
16
15
18
17
20
19
22
21
24
23
26
25
28
27
30
29
32
31
34
33
36
35
38
37
40
39
42
41
4443 4645 48
47
46X
45X
48X
47X
Shared Ports
Summit X450e-48p Switch
ESP-C

 Loading...
