Installing Modules and Establishing Initial Management Access
BlackDiamond 8800 Series Switches Hardware Installation Guide
122
Installing a Blank Front Panel
To install the blank front panel:
1 Attach the ESD-preventive wrist strap to your bare wrist and connect the metal end to the ground
receptacle at the top left corner of the BlackDiamond chassis.
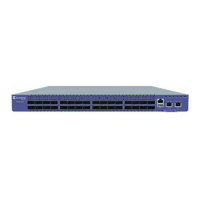
2 Align the blank front panel over the open slot on the chassis (see Figure 79).
Verify that the EMI gasket is on the top of the front panel and the stenciled part number is right
side up.
Figure 79: Blank Front Panels in a BlackDiamond 8800 Series Chassis
3 Use a #2 Phillips screwdriver to tighten the captive screws at each end of the blank front panel.
Tighten the screws of each installed blank front panel before inserting additional modules or blank front
panels. Otherwise, you might unseat modules or blank front panels that you have not secured.
Leave the ESD-preventive wrist strap permanently connected to the chassis so that it is always available
when you need to touch ESD-sensitive components.
Removing a Blank Front Panel
To remove a blank front panel:
1 Attach the ESD-preventive wrist strap to your bare wrist and connect the metal end to the ground
receptacle at the top left corner of the switch front panel.
2 Loosen the captive screw at each end of the blank front panel, using a #2 Phillips screwdriver (see
Figure 80).

 Loading...