3. After it is plugged in, place the oven into the gap, taking special care not to leave
any surplus cable on top of the oven.
4. A switch must be placed in the most accessible site possible in order to
disconnect the oven, with a minimum of 3 mm between the contacts.
5. Fasten the oven to the unit with the 2 screws you will find in the bag of
accessories.
6. If the cooking function selector is not at position “0”, turn it to “0” and set the time
on the oven.
10
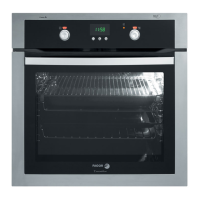
-Figure 2-
2. At the back of the oven you will find cable “A” which is used to make the
electrical connection.
WARNING: before starting to make any connections, check the following:
•that the mains voltage corresponds to the voltage indicated on the feature
identification plate.
• that the electrical mains the oven is to be connected to is powerful enough for
the maximum power the oven absorbs, indicated on the feature identification
plate.
Connect the cable to a socket with a good earth connection. This is essential to
ensure the correct operation of the electronic elements.

 Loading...